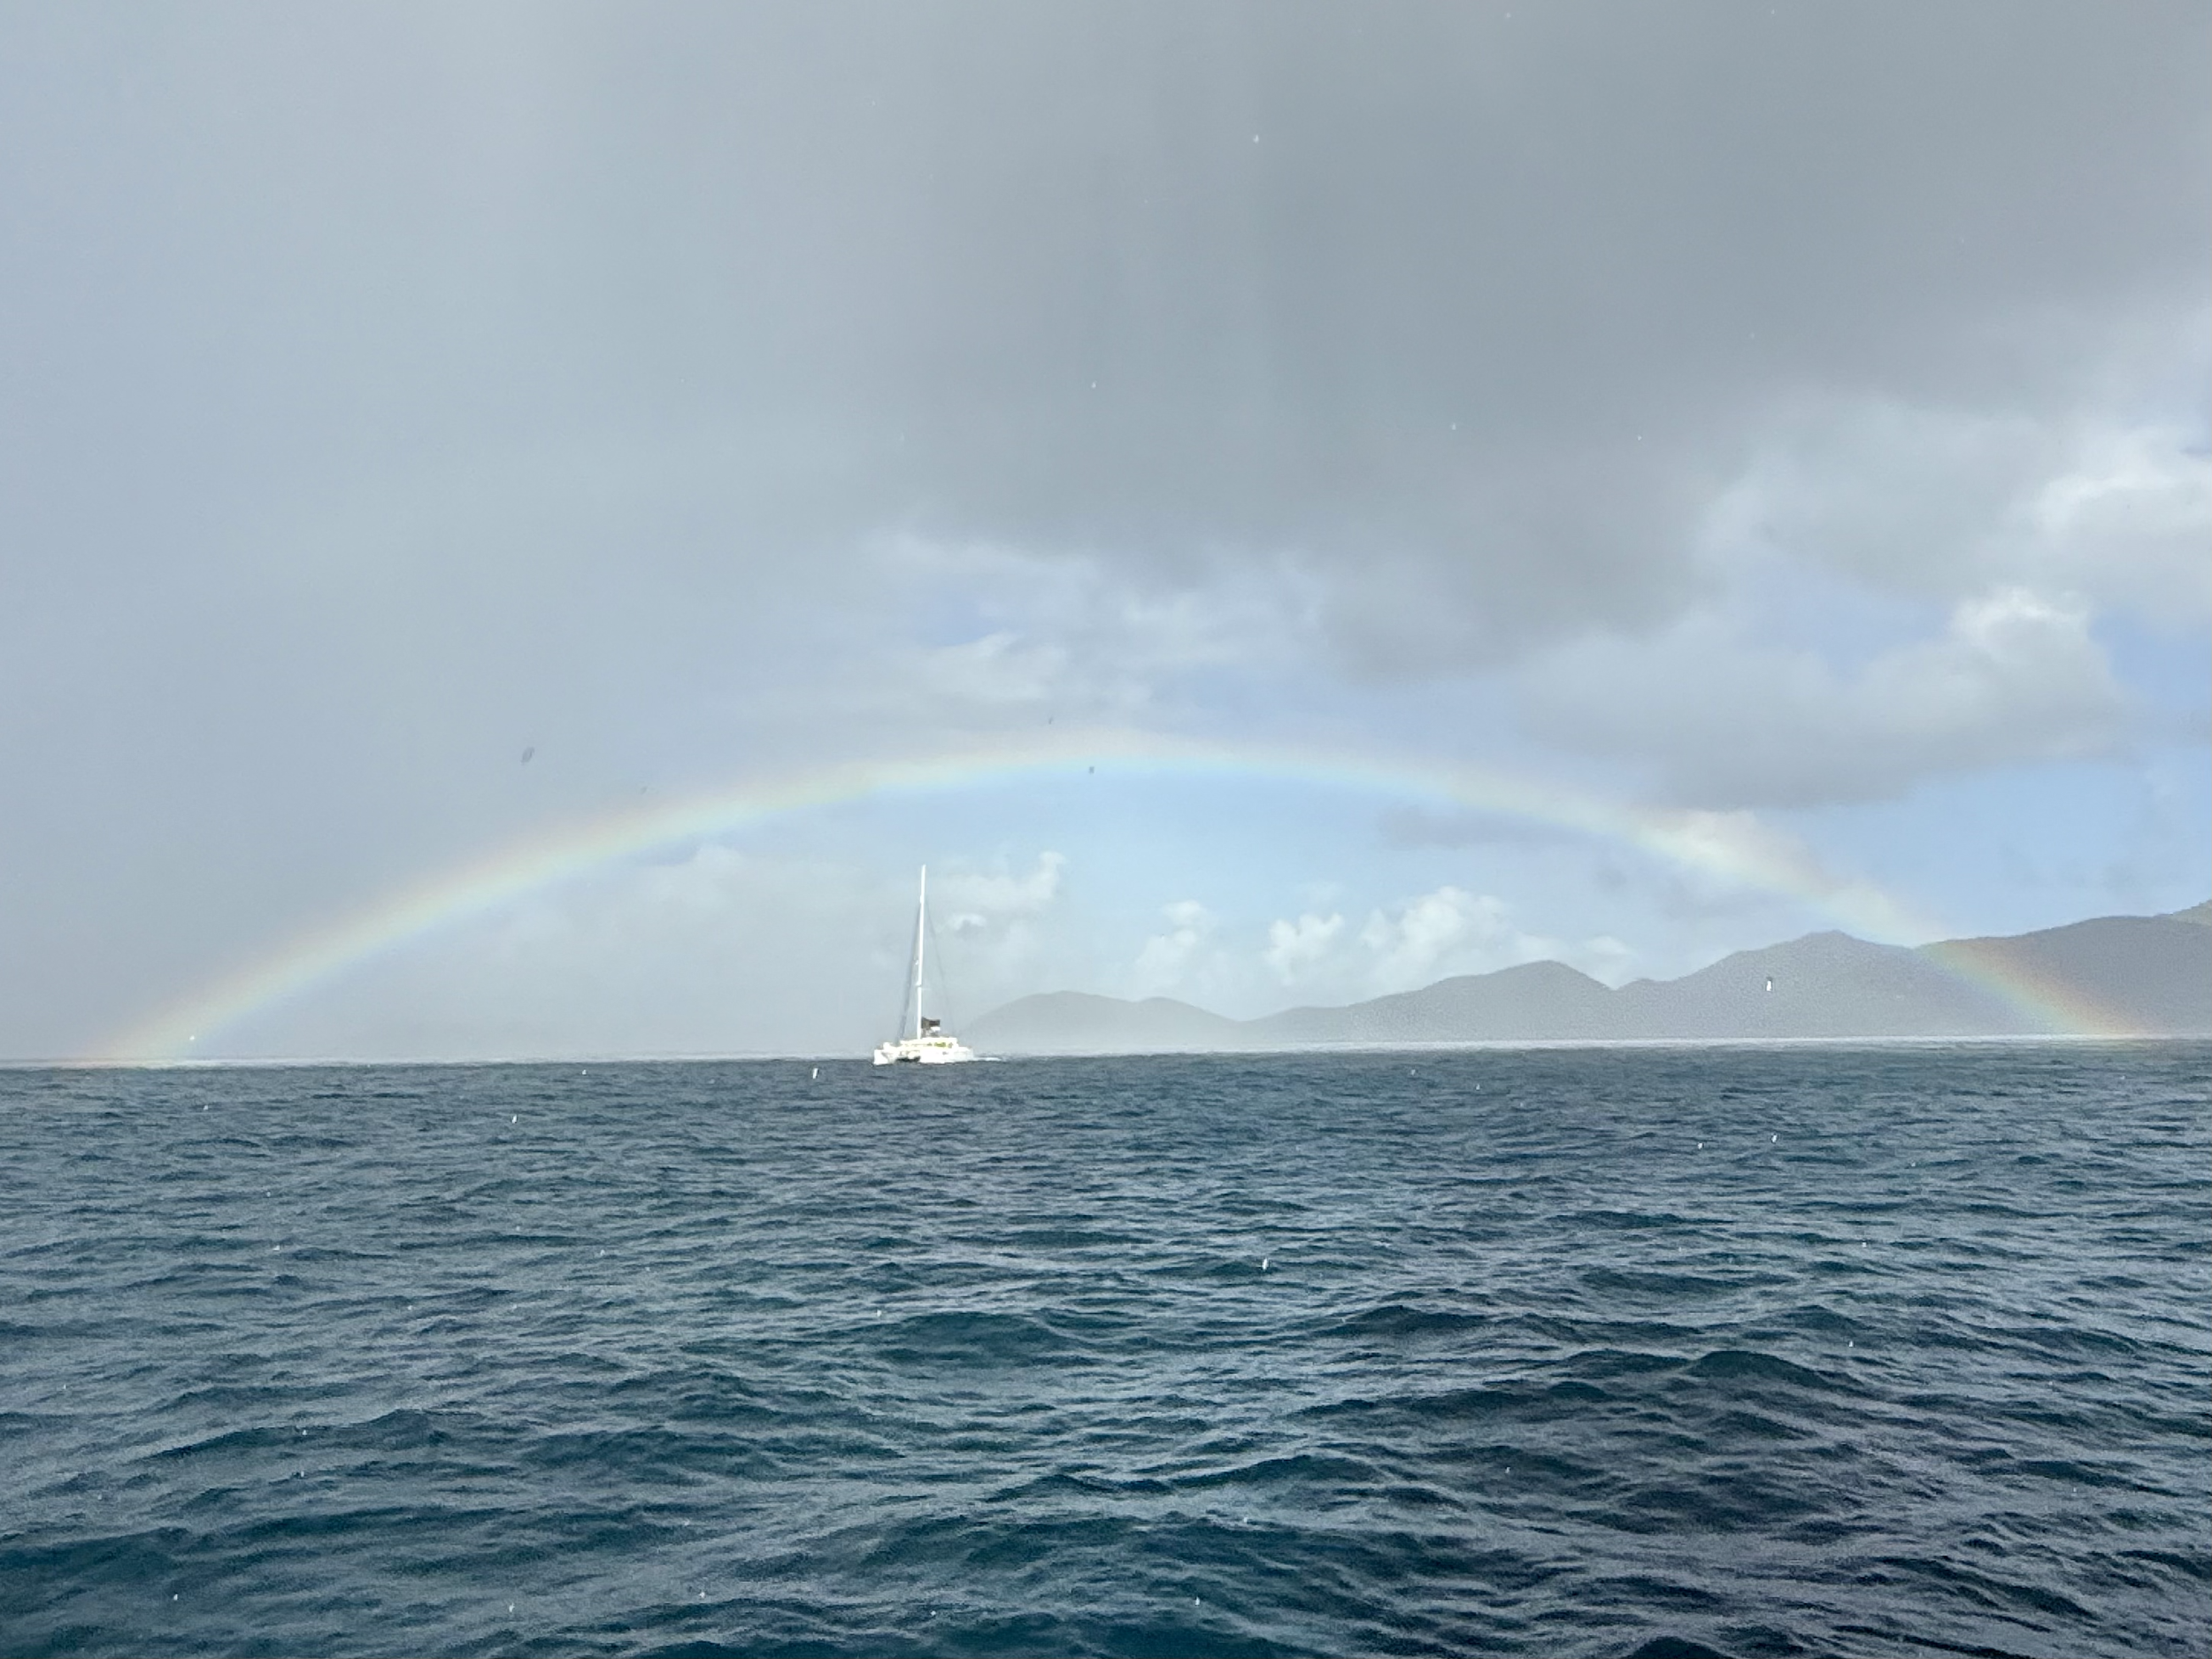
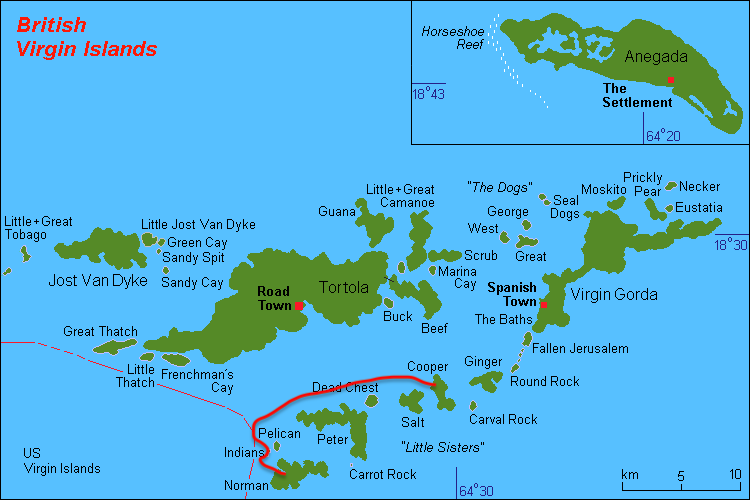
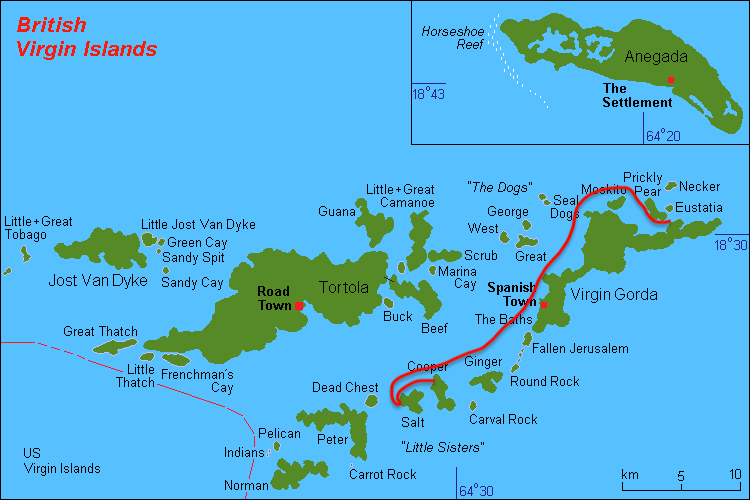
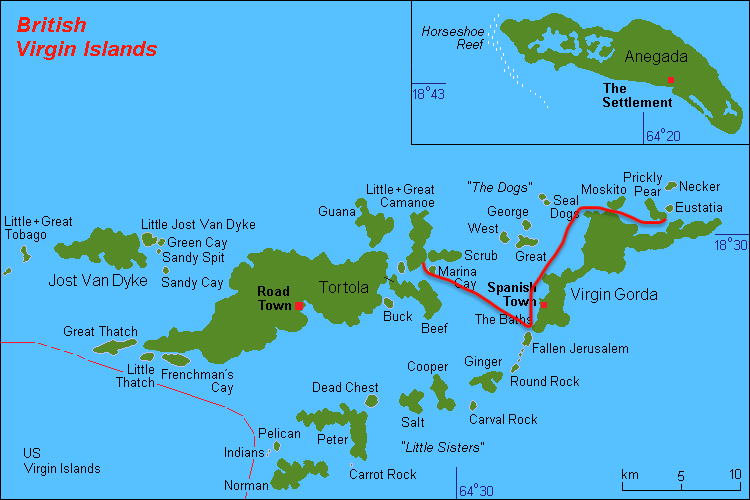
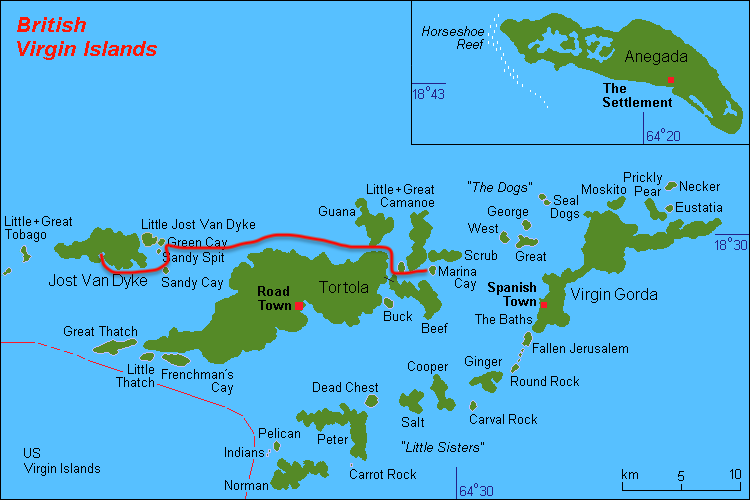
Your guide to sailing in the British Virgin Islands
Ideal for its consistent wind patterns, abundance of catamaran or mono-haul boats, and 50+ islands and cays to explore, the British Virgin Islands (BVIs) is a sailor’s paradise. Not only is there natural beauty to explore, each major island has a fun happy hour or restaurant to stop in at with its own unique culture!
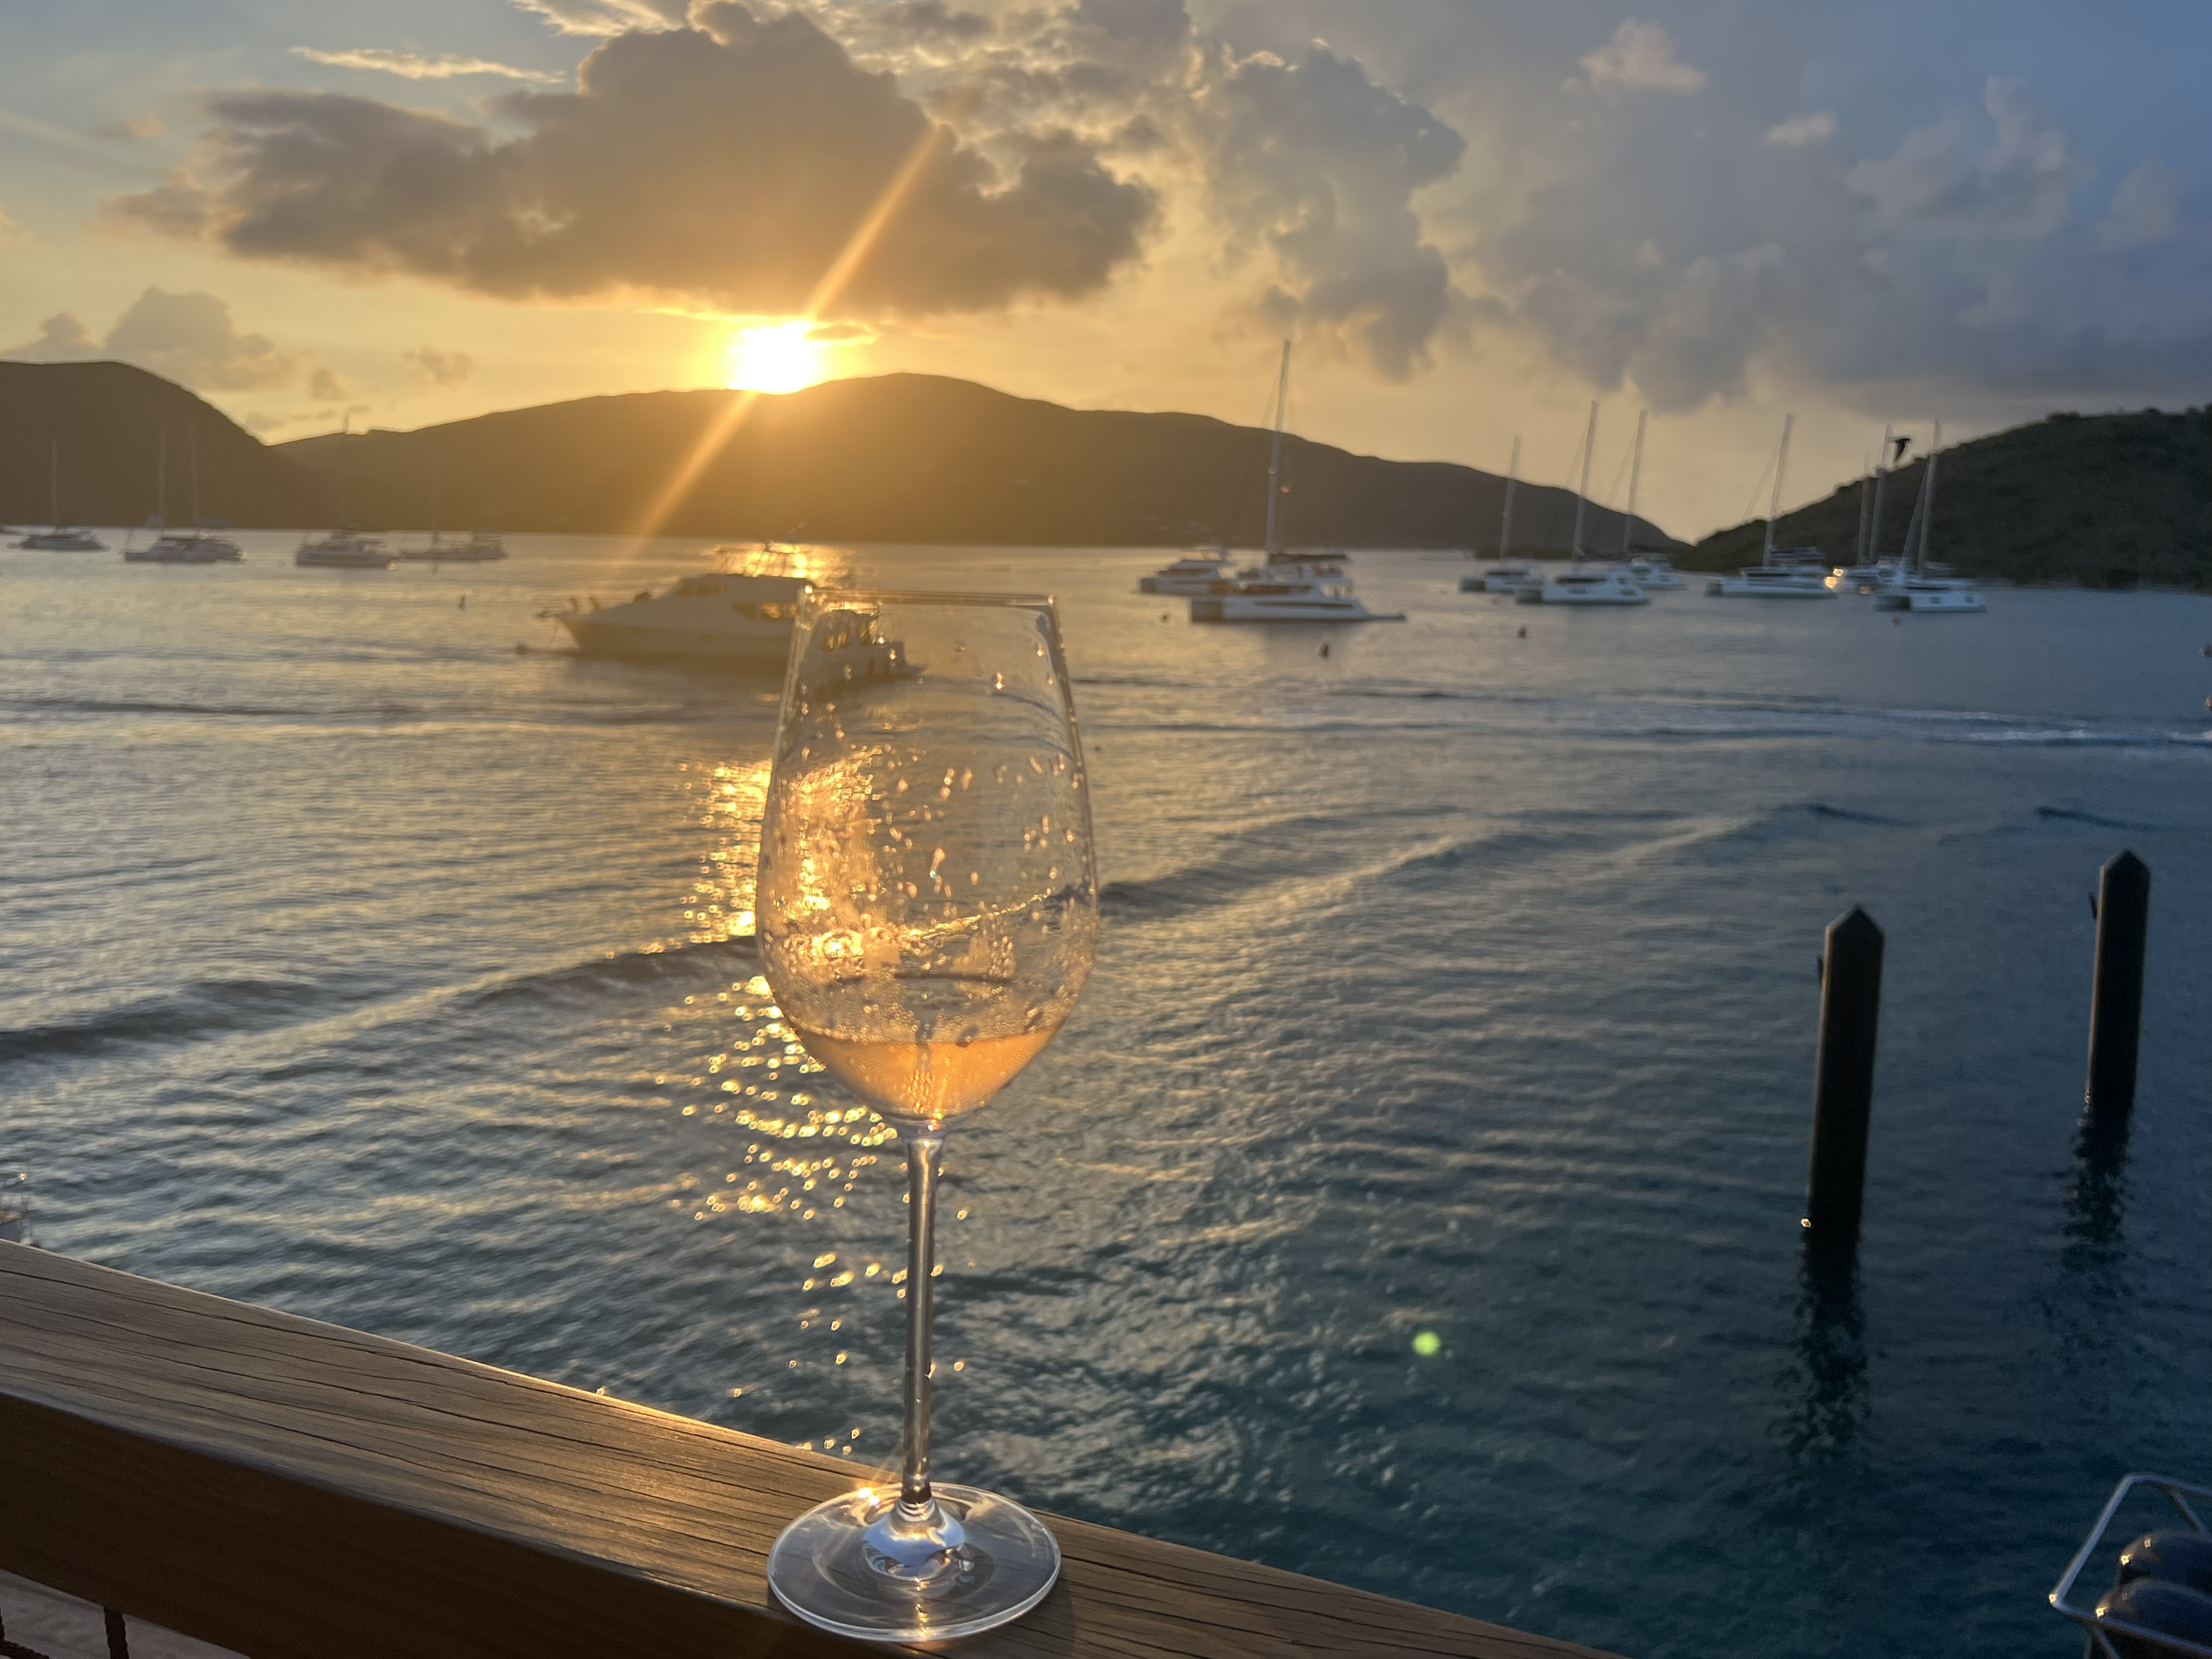
Read below for my experience sailing in the BVIs (December 2025), and top tips for reducing your costs on an adventure like this.
Note: If you don’t have international data, I highly recommend downloading an e-sim before your trip! While many of the huts have wifi, it’s good to have service in case of emergencies or to ensure your map loads. I use Airalo for my e-sims, which is affordable and is easy to download. Make sure your phone is e-sim compatible!
How to get to the BVIs
Depending on where you are coming from, the most common way to get to the BVIs is option 1, but the most convenient way is option 2:
Flight to St Thomas (STT), and ferry to BVIs
Coming from the United States, most flights go into St Thomas (the US side). Then, there are an assortment of ferry companies that operate daily. Check out the overall BVI tourism site for tips on how to plan your visit, and the different ferry company websites including Road Town Fast Ferry, Native Son Ferry, and Smith’s Ferry for up to date schedules. Some ferries don’t operate on certain days of the week, so make sure you know your dates if you are trying to book a round trip ferry ticket ($50 each way) versus one-way tickets ($60 each way).
You will want to take a ferry out of Charlotte Amalie to Road Town. Make sure to check my “hidden costs” section for detailed information on ferry costs and details.
Flight to Tortola (EIS)
The most ideal way to get to the BVIs is to fly directly into Tortola island. The issue here is there are not many flights that come into the island. You’ll either need to get a hopper flight from Puerto Rico or another Caribbean airport, most commonly San Juan (SJU), St. Thomas (STT), Antigua (ANU), or St. Maarten (SXM). This is ideal because it saves you time, and the round trip cost of going the ferry route is at least $140/person. So if your flight to EIS is $140 more expensive than STT, then you should just book it!
When to go
The peak tourist season for the Caribbean is summer (June to early August) and holidays (Christmas and New Years). The hurricane season is from mid-August to November, and most restaurants and stores shut down during this time.
If you are looking for less people and a lower cost trip, try to go on the flank season (May or early December). You’ll have a better, quieter, and less blisteringly hot experience than the peak times!
What to Pack
You can read more in my “cost savings tip” section below, but you can take this 2 different ways:
Pack as little as possible (really small bag to avoid additional ferry fees). Or…
Pack all the food you could possibly need and bring it with you. Bring a cooler of Costco meat, pasta, any dried food that is not fruit and vegetable because you cannot bring this across the BVI borders
#2 will probably result in the most cost savings, but it’s up to you on how you want to manage the trip!
Make sure to bring cash (USD). They take cash for nearly everything, and a lot of the hidden fees listed below (i.e. port fees when taking the ferry, mooring balls, trash collection, taxis). I would bring at least a few hundred dollars of cash in $20 bills or smaller, just in case.
Cost to visit the BVIs (including hidden costs)
I was shocked at how expensive the BVIs were. It’s an island, sure, but WOW tourism is charged an arm and a leg for existing.
Taxi from the airport to the ferry terminal (less than 2 miles): $15/person. AND there are no other options!
One-way ferry cost: $60/person, plus $10/bag (which they will charge you for a bag even if your bag is a backpack, be careful!)
Ferry fees to the BVIs: environmental fee $10 and port fee $10
Ferry fees leaving the BVIs: $20 fee
Taxi in BVIs from ferry terminal to boat (0.5 miles): $6/person
Groceries? Expect 3x the cost of what it is at home
Then you have the boat rental (we rented an older boat, Fountains Pajot Lucia 40 2017, for ~$5,500/week)
Boat fees, including environmental fee / insurance: $780
Mooring balls? $55/night for a Boaty Ball, $40/night for a first-come first-serve ball. Note that this is increased from $20-$25/night 2 years ago. Apparently the fees have increased 2x/year recently.
Trash collection: Locals will come by in their dinghys and charge you $5-$10/bag of trash to take it off your hands and likely burn it on land.
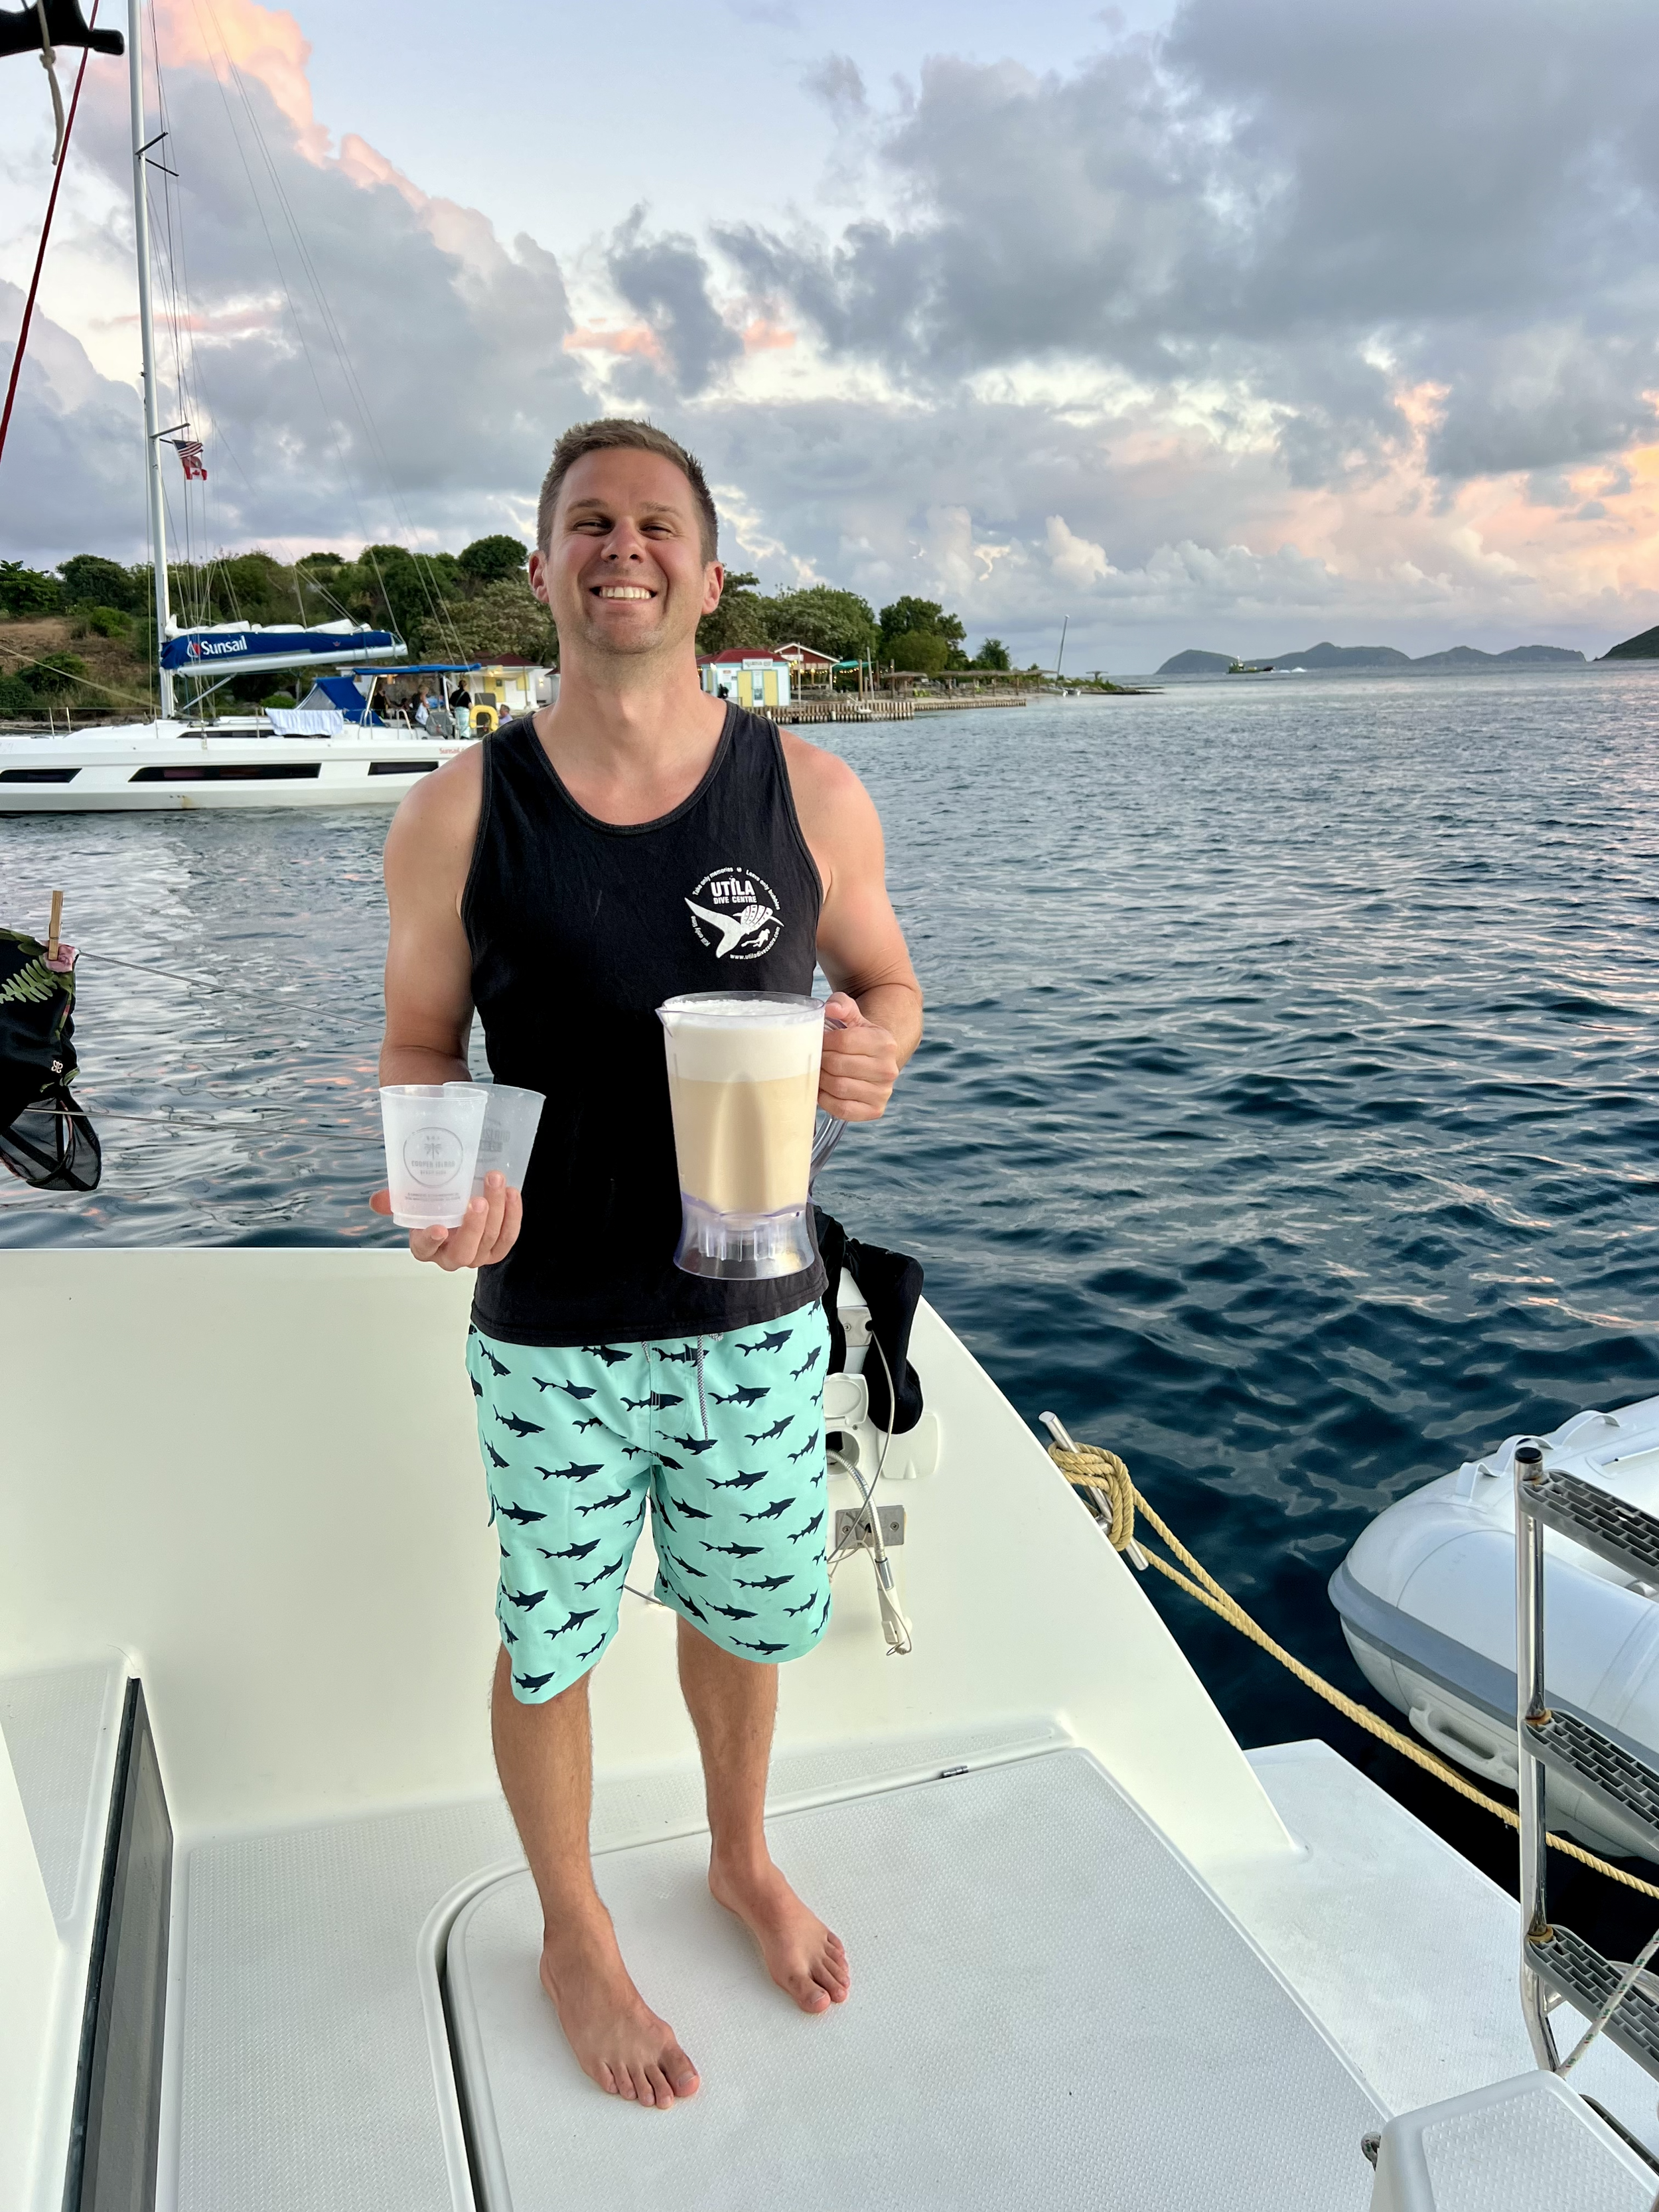
We had 6 people on our boat, and in total the full trip (including mooring balls, groceries, gas, extra fees, boat rental, etc, but not including flights) ended up costing ~$1,800/person. Not too bad, but we also cooked every single meal.
In my opinion, the costs were absolutely insane. I would say to get used to it… or use some of my tips in the “cost saving” section below.
Cost saving tips
As you can see above, it is SUPER expensive to do this trip. Here’s some tips to lower the cost for your group:
Have someone in your group skipper the boat (assuming they have the right experience and confidence!). Can save you ~$1-3k/week
Anchor where you can. Could save you $40-$55/night)
Bring meat products from home, i.e. purchase them at Costco and fly them as a checked bag in a cooler. We did this and it was a HUGE help. But don’t bring vegetables because you can’t bring them across the border.
Fly into EIS (the local Tortola airport). This will save you at least $160/person for the ferry cost and fees, not including extra bags. Plus it saves you a lot of time and headache.
Eat and drink on the boat! Restaurants are insanely expensive. So the more you cook on the boat, the better
Sail instead of motoring! Fuel can be $6/gallon, so the more you motor, the more you will pay to refuel the boat. Remember that sailing is free.
Bring your own equipment like mask, snorkel, wetsuit (if necessary)
Utilize happy hours on land. We did this, and it saved a ton of money. Drinks can be half off or more!
Pack light. Remember that the ferries will charge you for your luggage and they consider a bag to be anything larger than a purse. The less you bring, the happier you will be. Plus, you’re just in a bathing suit every day, right?
Bring any supplies you may need from home! Ziplock bags, medicine, aluminum foil, spices, you name it. All of this stuff is hard to find and expensive at the grocery stores.
Get an e-sim and ditch the wifi! Wifi can cost $20/day. Service on your phone can cost $12/day. An e-sim can solve both those problems and you can get plans for $10 for the whole trip.
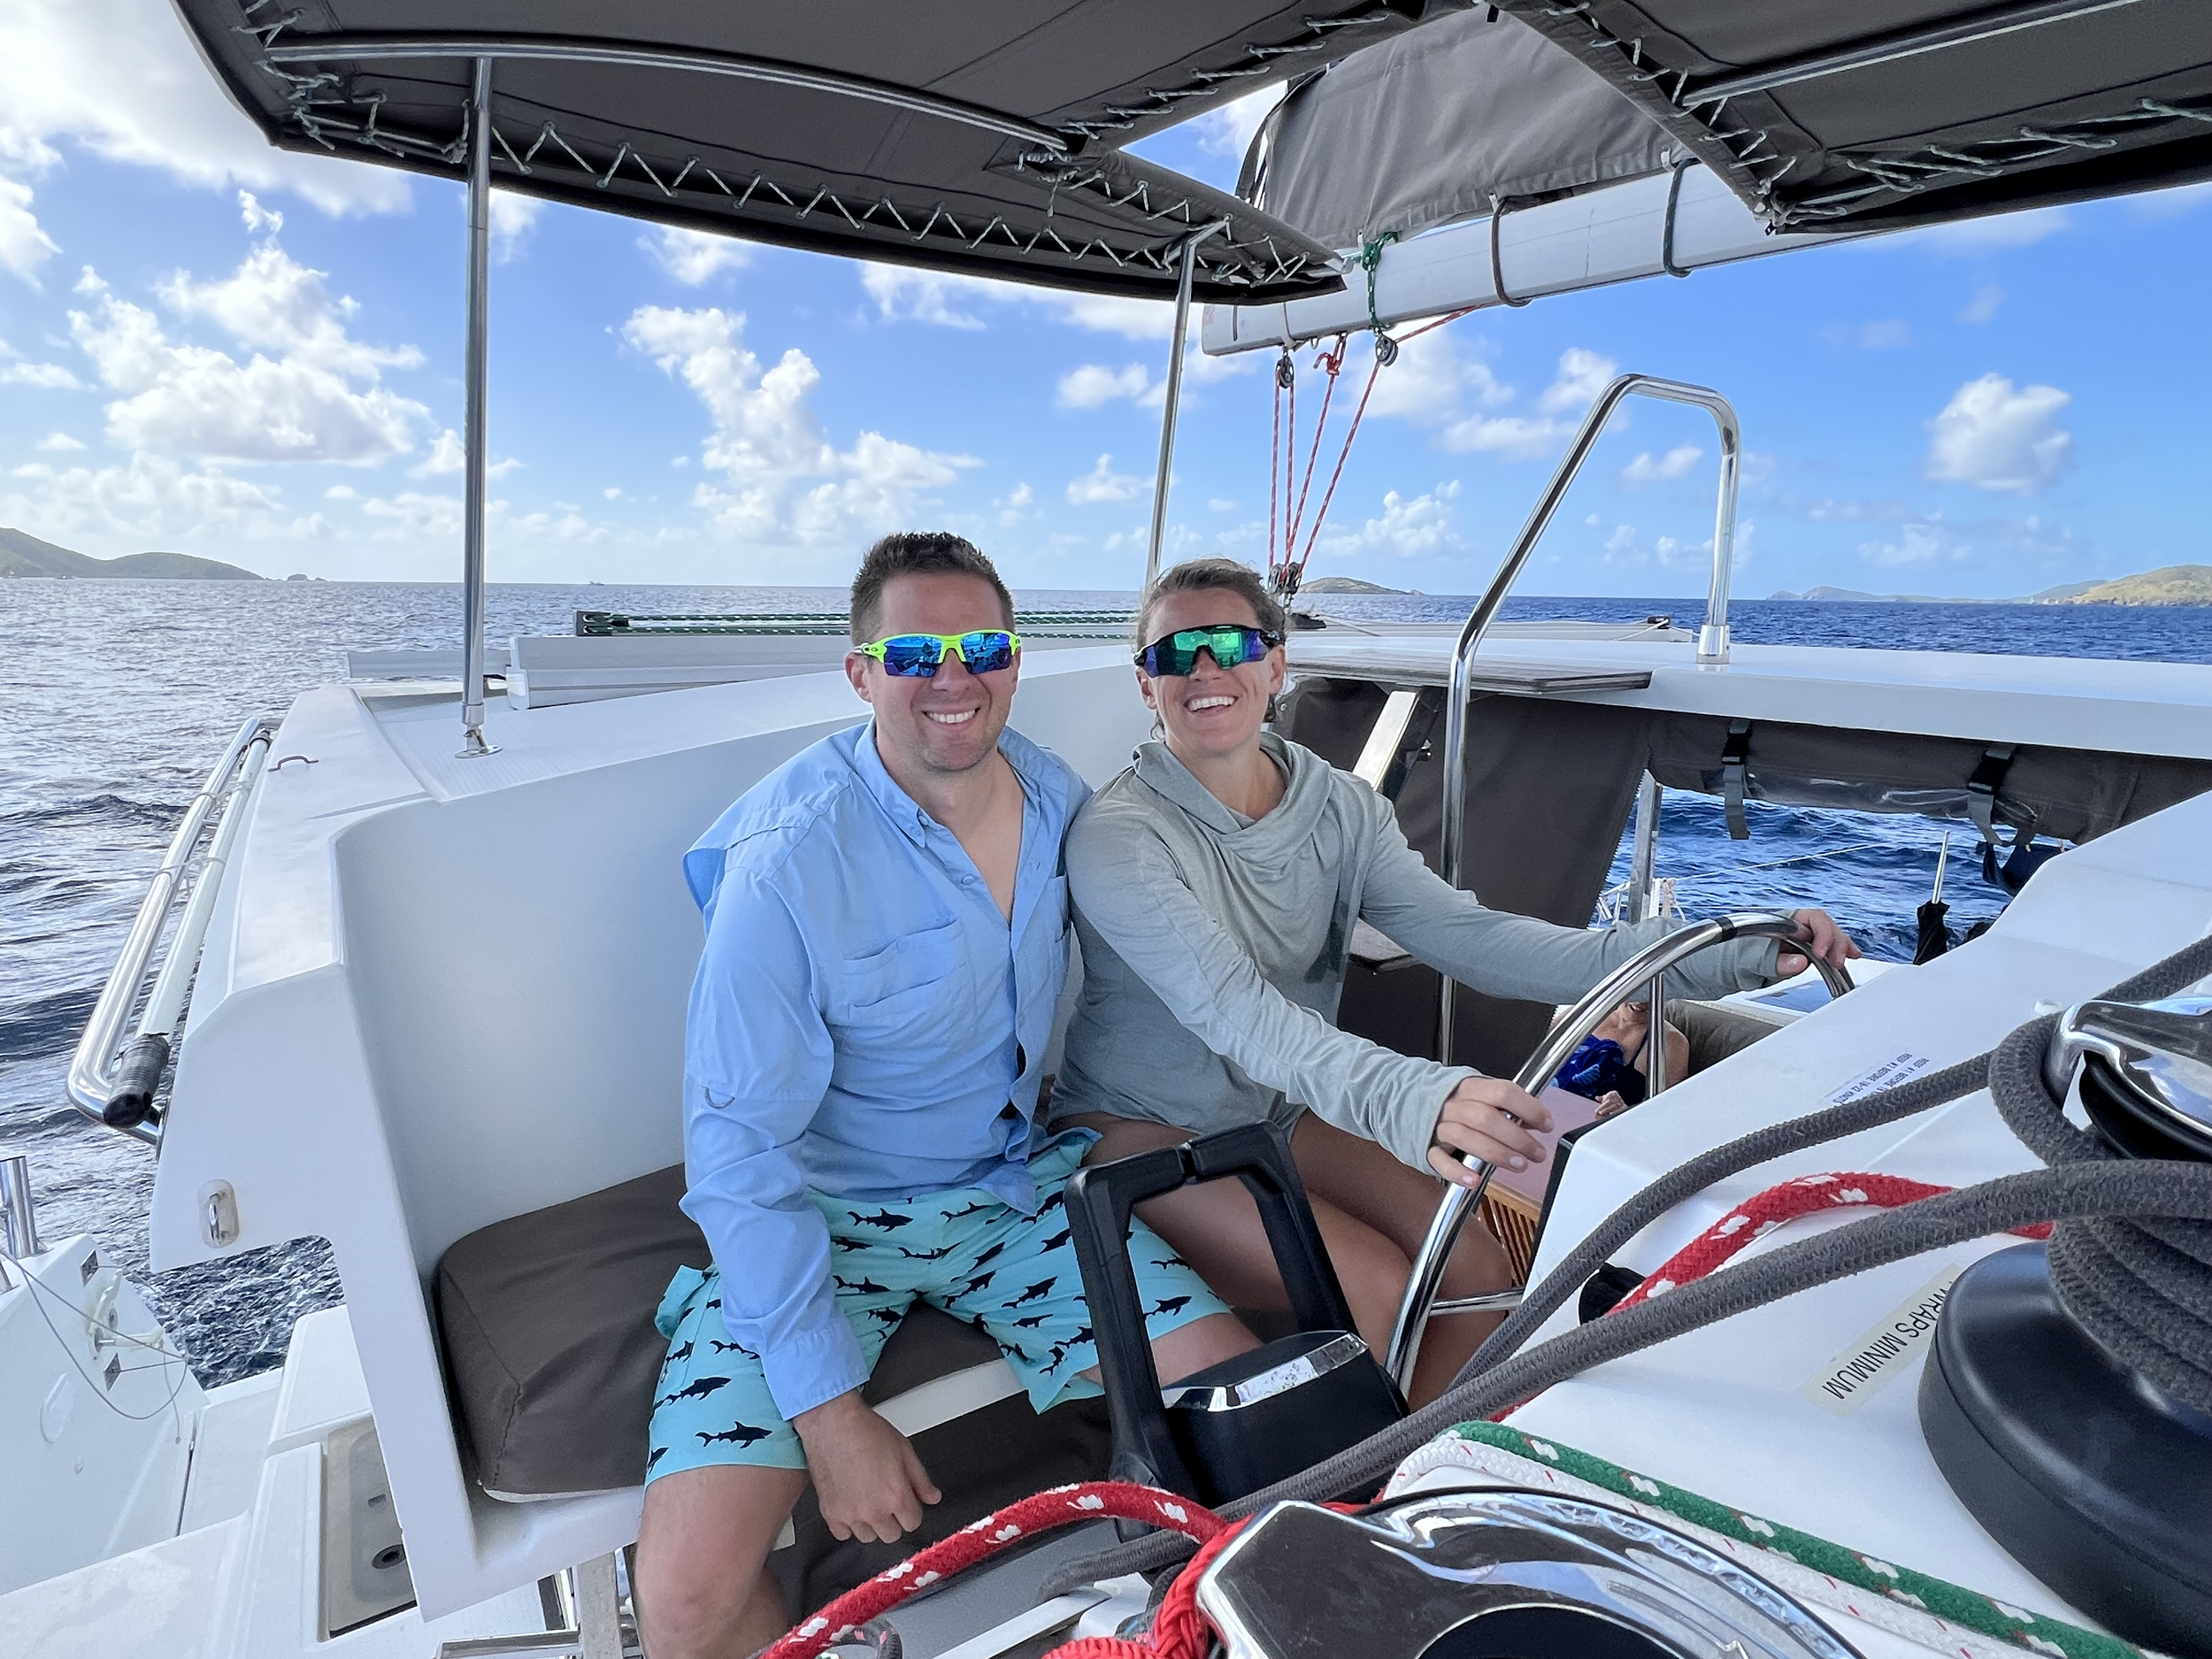
My 7-day sailing itinerary
My trip actually spanned 9 days, but 7 of those were actual “sailing” days. So you can take this itinerary and modify to meet a weeks long trip!
Day 0: Arrival in BVIs
I flew into STT airport, landing before noon. From the airport, I took a taxi (there’s no Uber on St Thomas) to the ferry terminal, where I hopped on a 1-hour ferry to Road Town. While the ferry took 1-hour, customs upon arriving in the BVIs also took 1-hour, so make sure you allocate time!
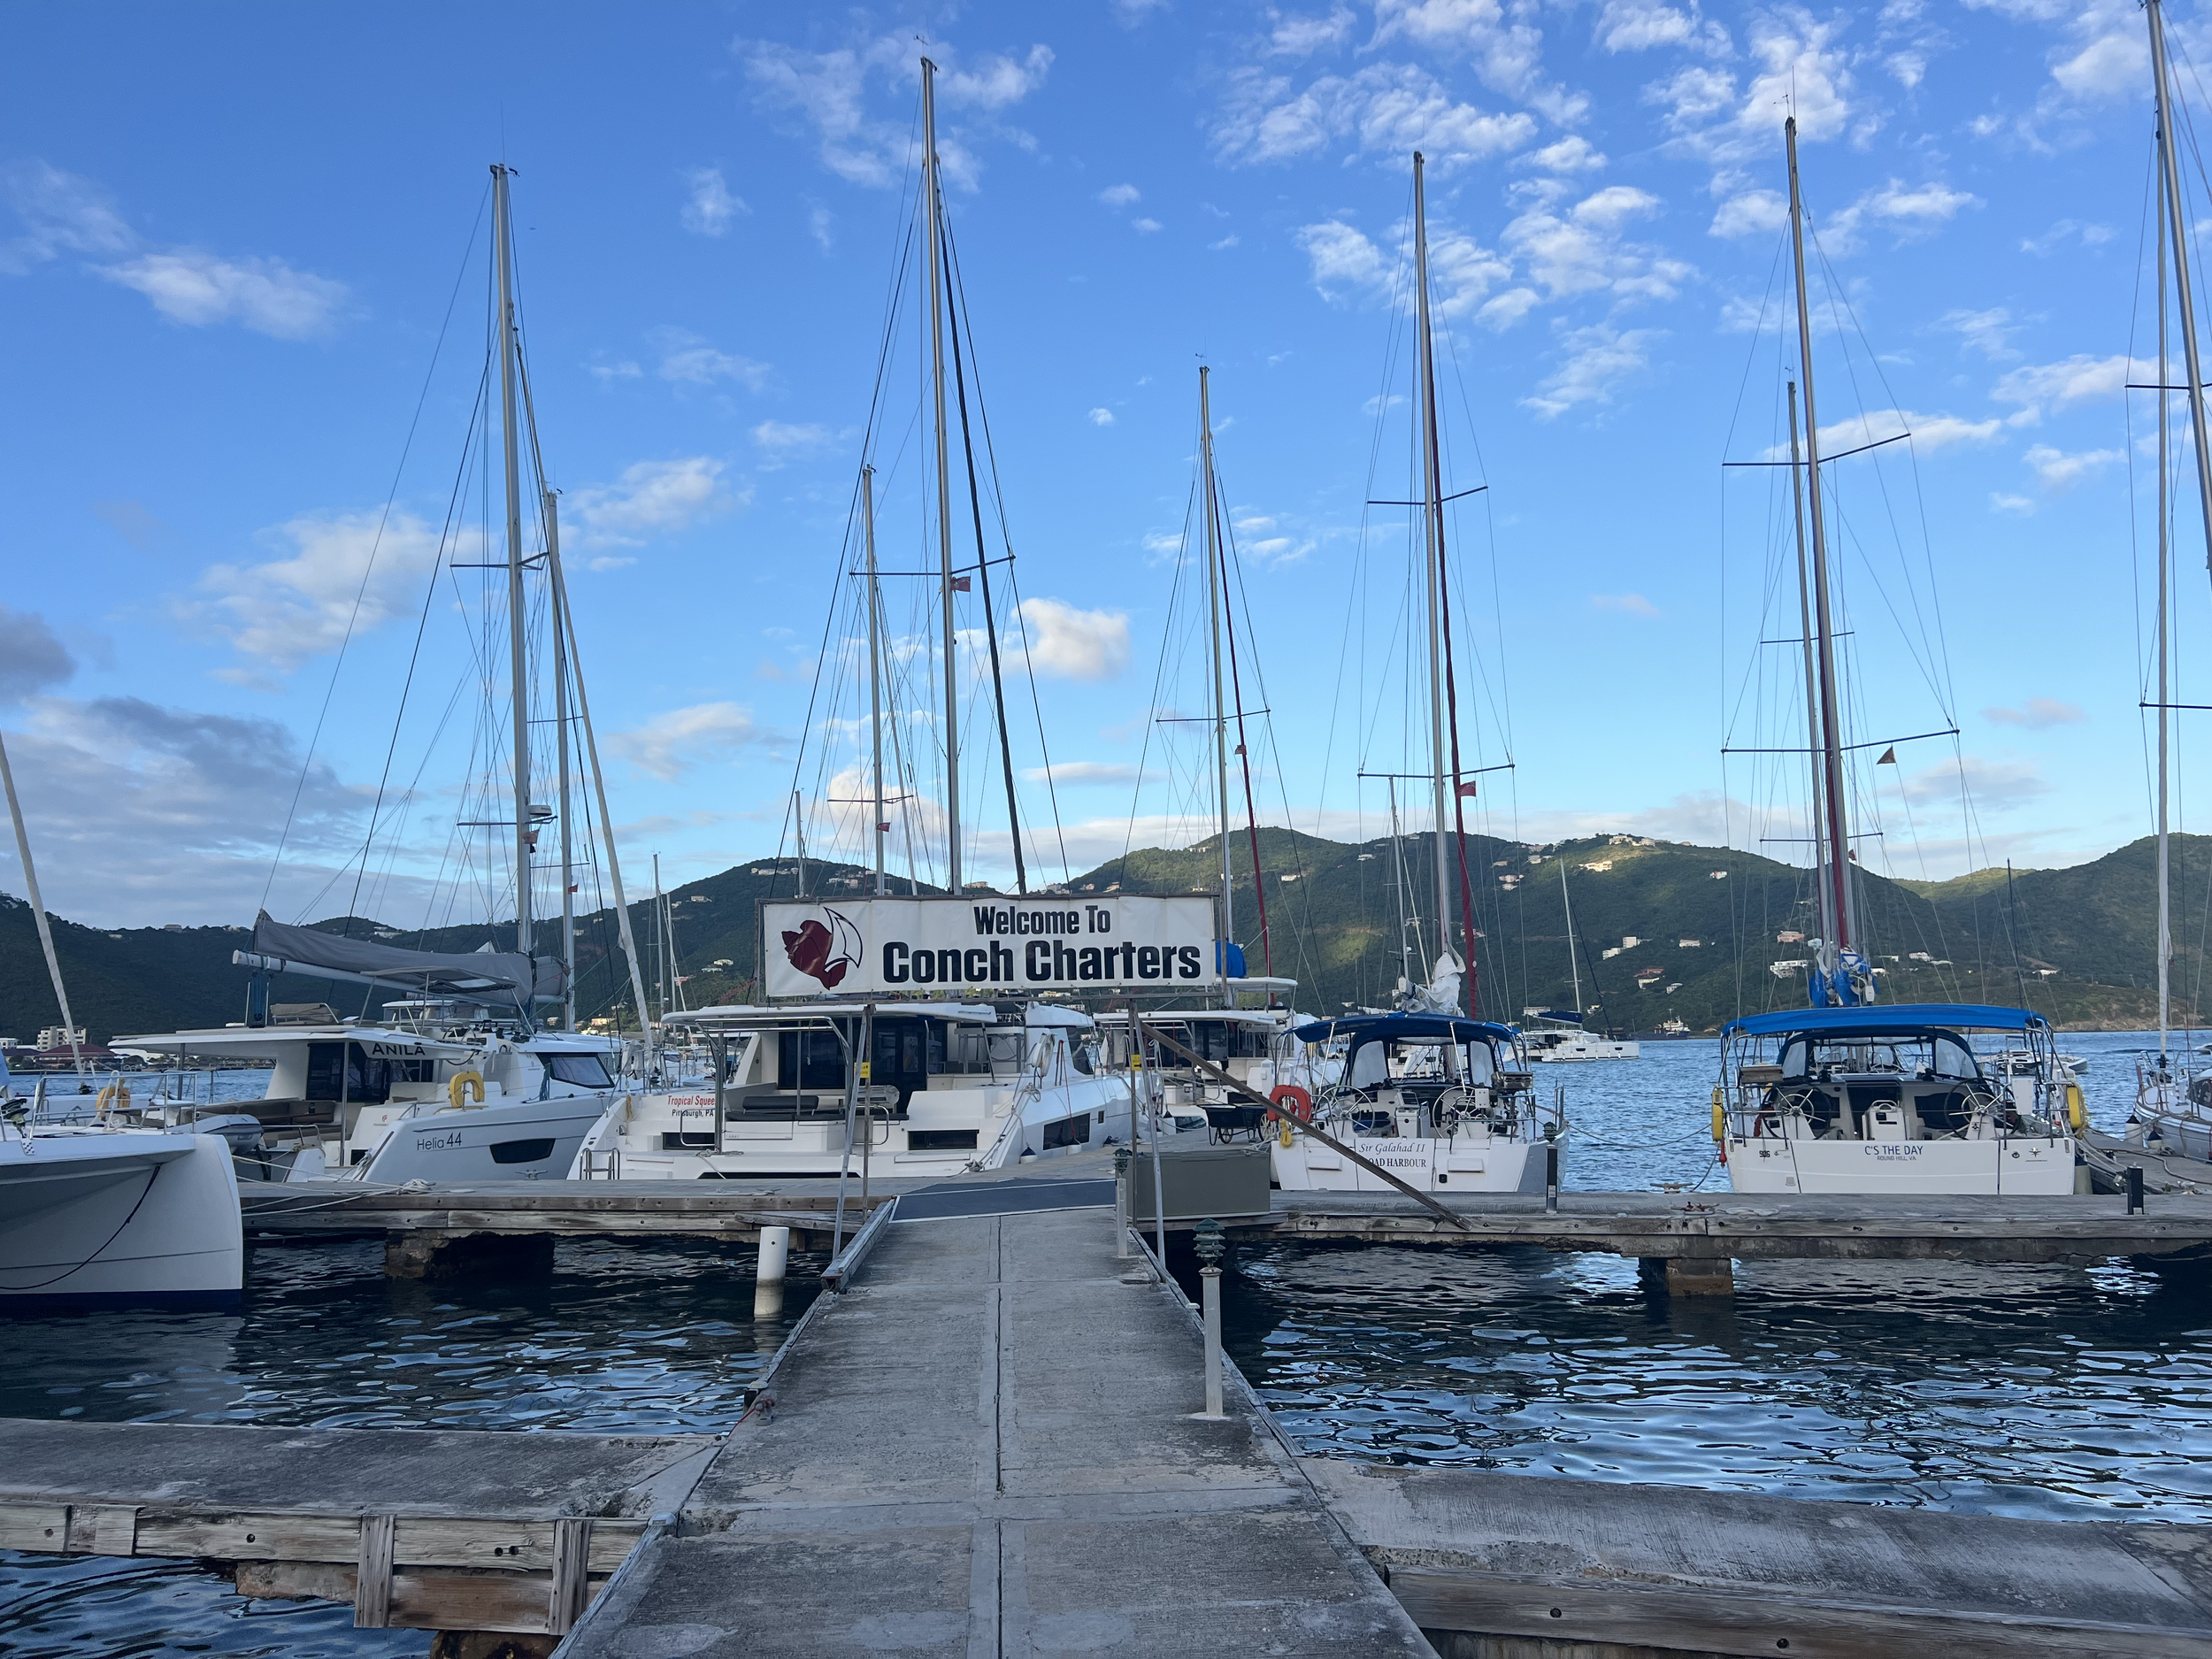
After arriving in Road Town, my group went to the grocery store and bought all the food we would need (a lofty ~$800+ bill the first time around… the costs here are really no joke! Something you would get at the grocery store is 3x more expensive on the islands). We checked into our boat with Conch Charters (located 0.5 miles from the ferry terminal, so an easy walk) and spent the night at the dock, as it was too late to depart.
Day 1: Road Town to Norman Island
We started the day with a 3 hour boat walk through, where the team showed us how to manage the electrical boards, sailing controls, pumps, toilets, propane / generator functions, emergency functions, you name it. If you can, I would recommend doing this on day 0 (arrival) as it takes a lot of time but is super important in case something happens while you’re out sailing! The office for Conch Charters was only open from 8:30am to 5pm, so you’ll need to do this briefing around 2pm on Day 0 if you want to get it done early.

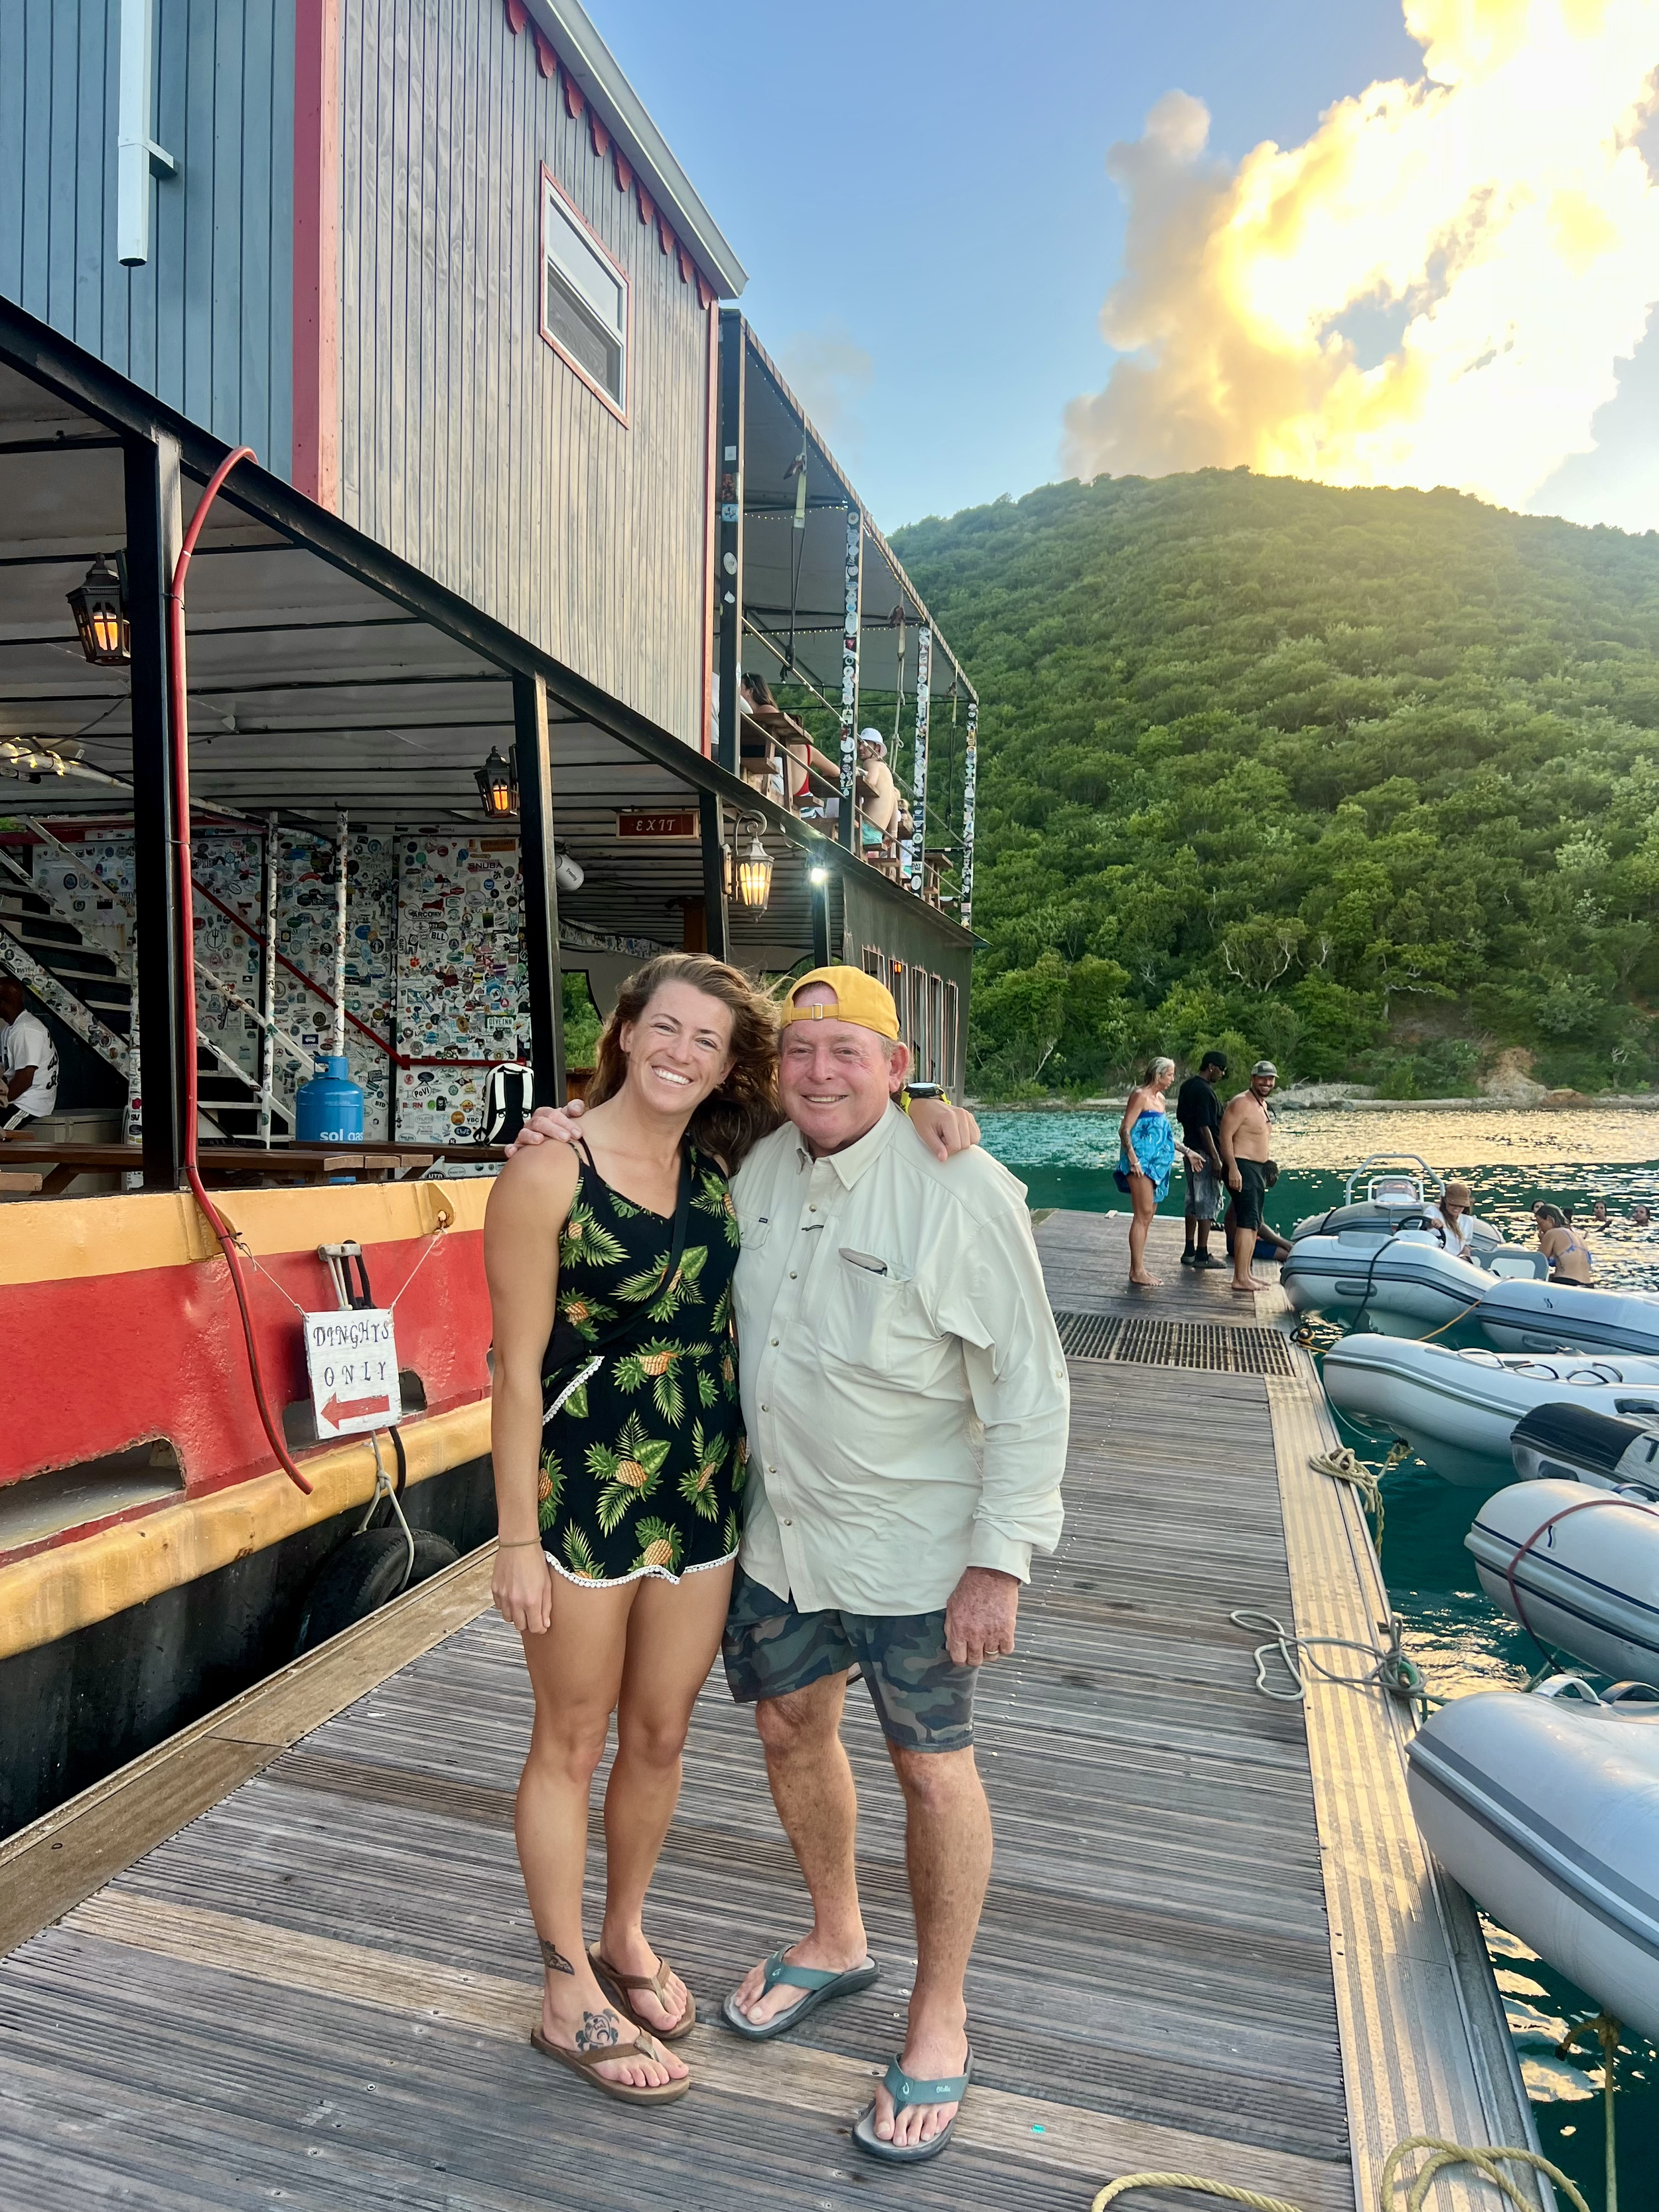
Around noon, we headed off to Norman Islands, first stopping for a snorkel at treasure point in Privateer Bay on the west side, before staying the night in the Bight Bay. We got one of the last first-come first-serve mooring balls for $40/night.
Make sure to stop by Willy-T’s for an authentic party experience (classic rum cocktail was $10). If you want a more high-end experience, stop by Pirate’s Bight with happy hour from 4-6pm. Drinks can be ~2x as much as Willy-T’s, so be careful!
Day 2: Norman Island to Cooper Island
First thing - Boaty Ball! There are a few areas in the BVIs where you can reserve a mooring ball in advance (specifically at 7am - and you need to be READY, these things go in 10 seconds). Make sure you have an account made, payment method saved, and are logged in and ready to go before 7am with your preferred mooring ball location. It’s really fast and kind of stressful, but we snagged a spot at Cooper Island for the evening.
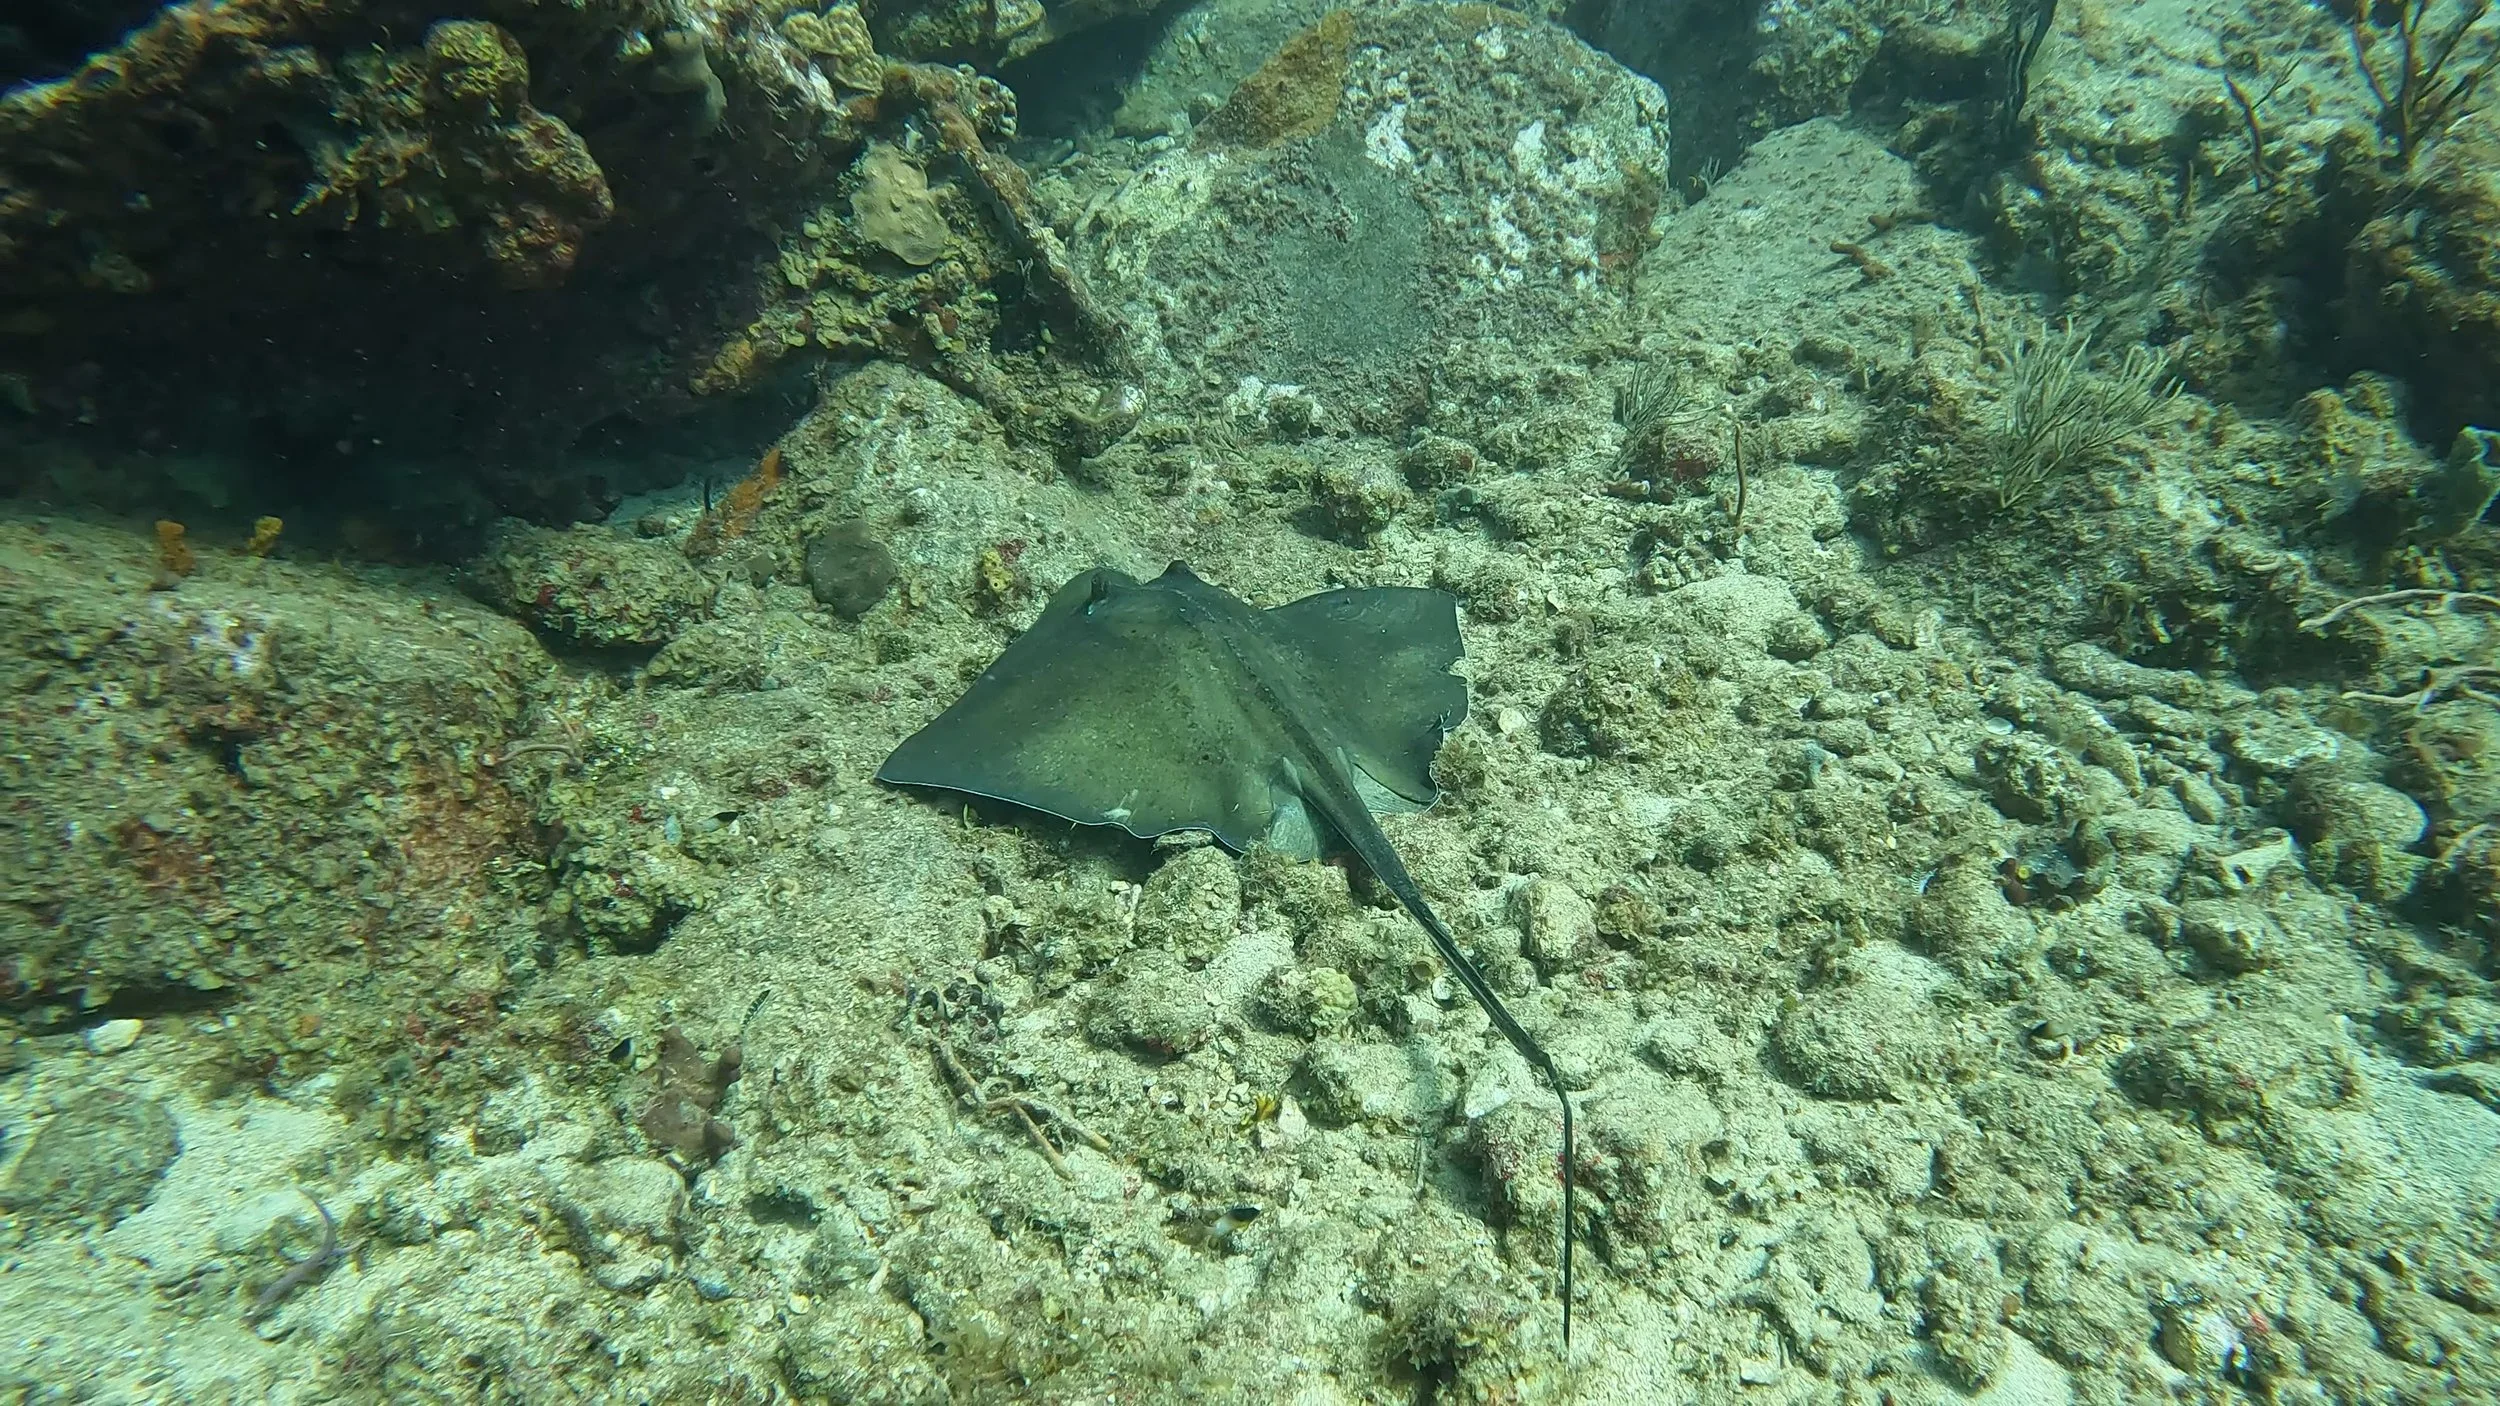
Early in the morning, we motored from Bight Bay to the Indians, a spectacular snorkeling spot and a national park in the BVIs. There are about 6 buoys in this area so make sure you go early or get lucky. Snorkel in a loop around the jagged rocks, where you can see all sorts of fish, sting rays, and maybe a turtle. There is a swim through on the north side of the Indians if you are into freediving.
In the afternoon, we put the sails up and practiced sailing up wind to Cooper. This involved 4-5 tacks and a bit of a roundabout course as we figured out how the catamaran sailed. We found that the boat sailed best at a 45 degree angle into the wind. Any less (going down to 30 degrees, for example) dropped the speed in half and wasn’t worth the effort. Any more (say 60 degrees) meant that we were never going to make it. Plus, we got to play with the jib and main sail angles.
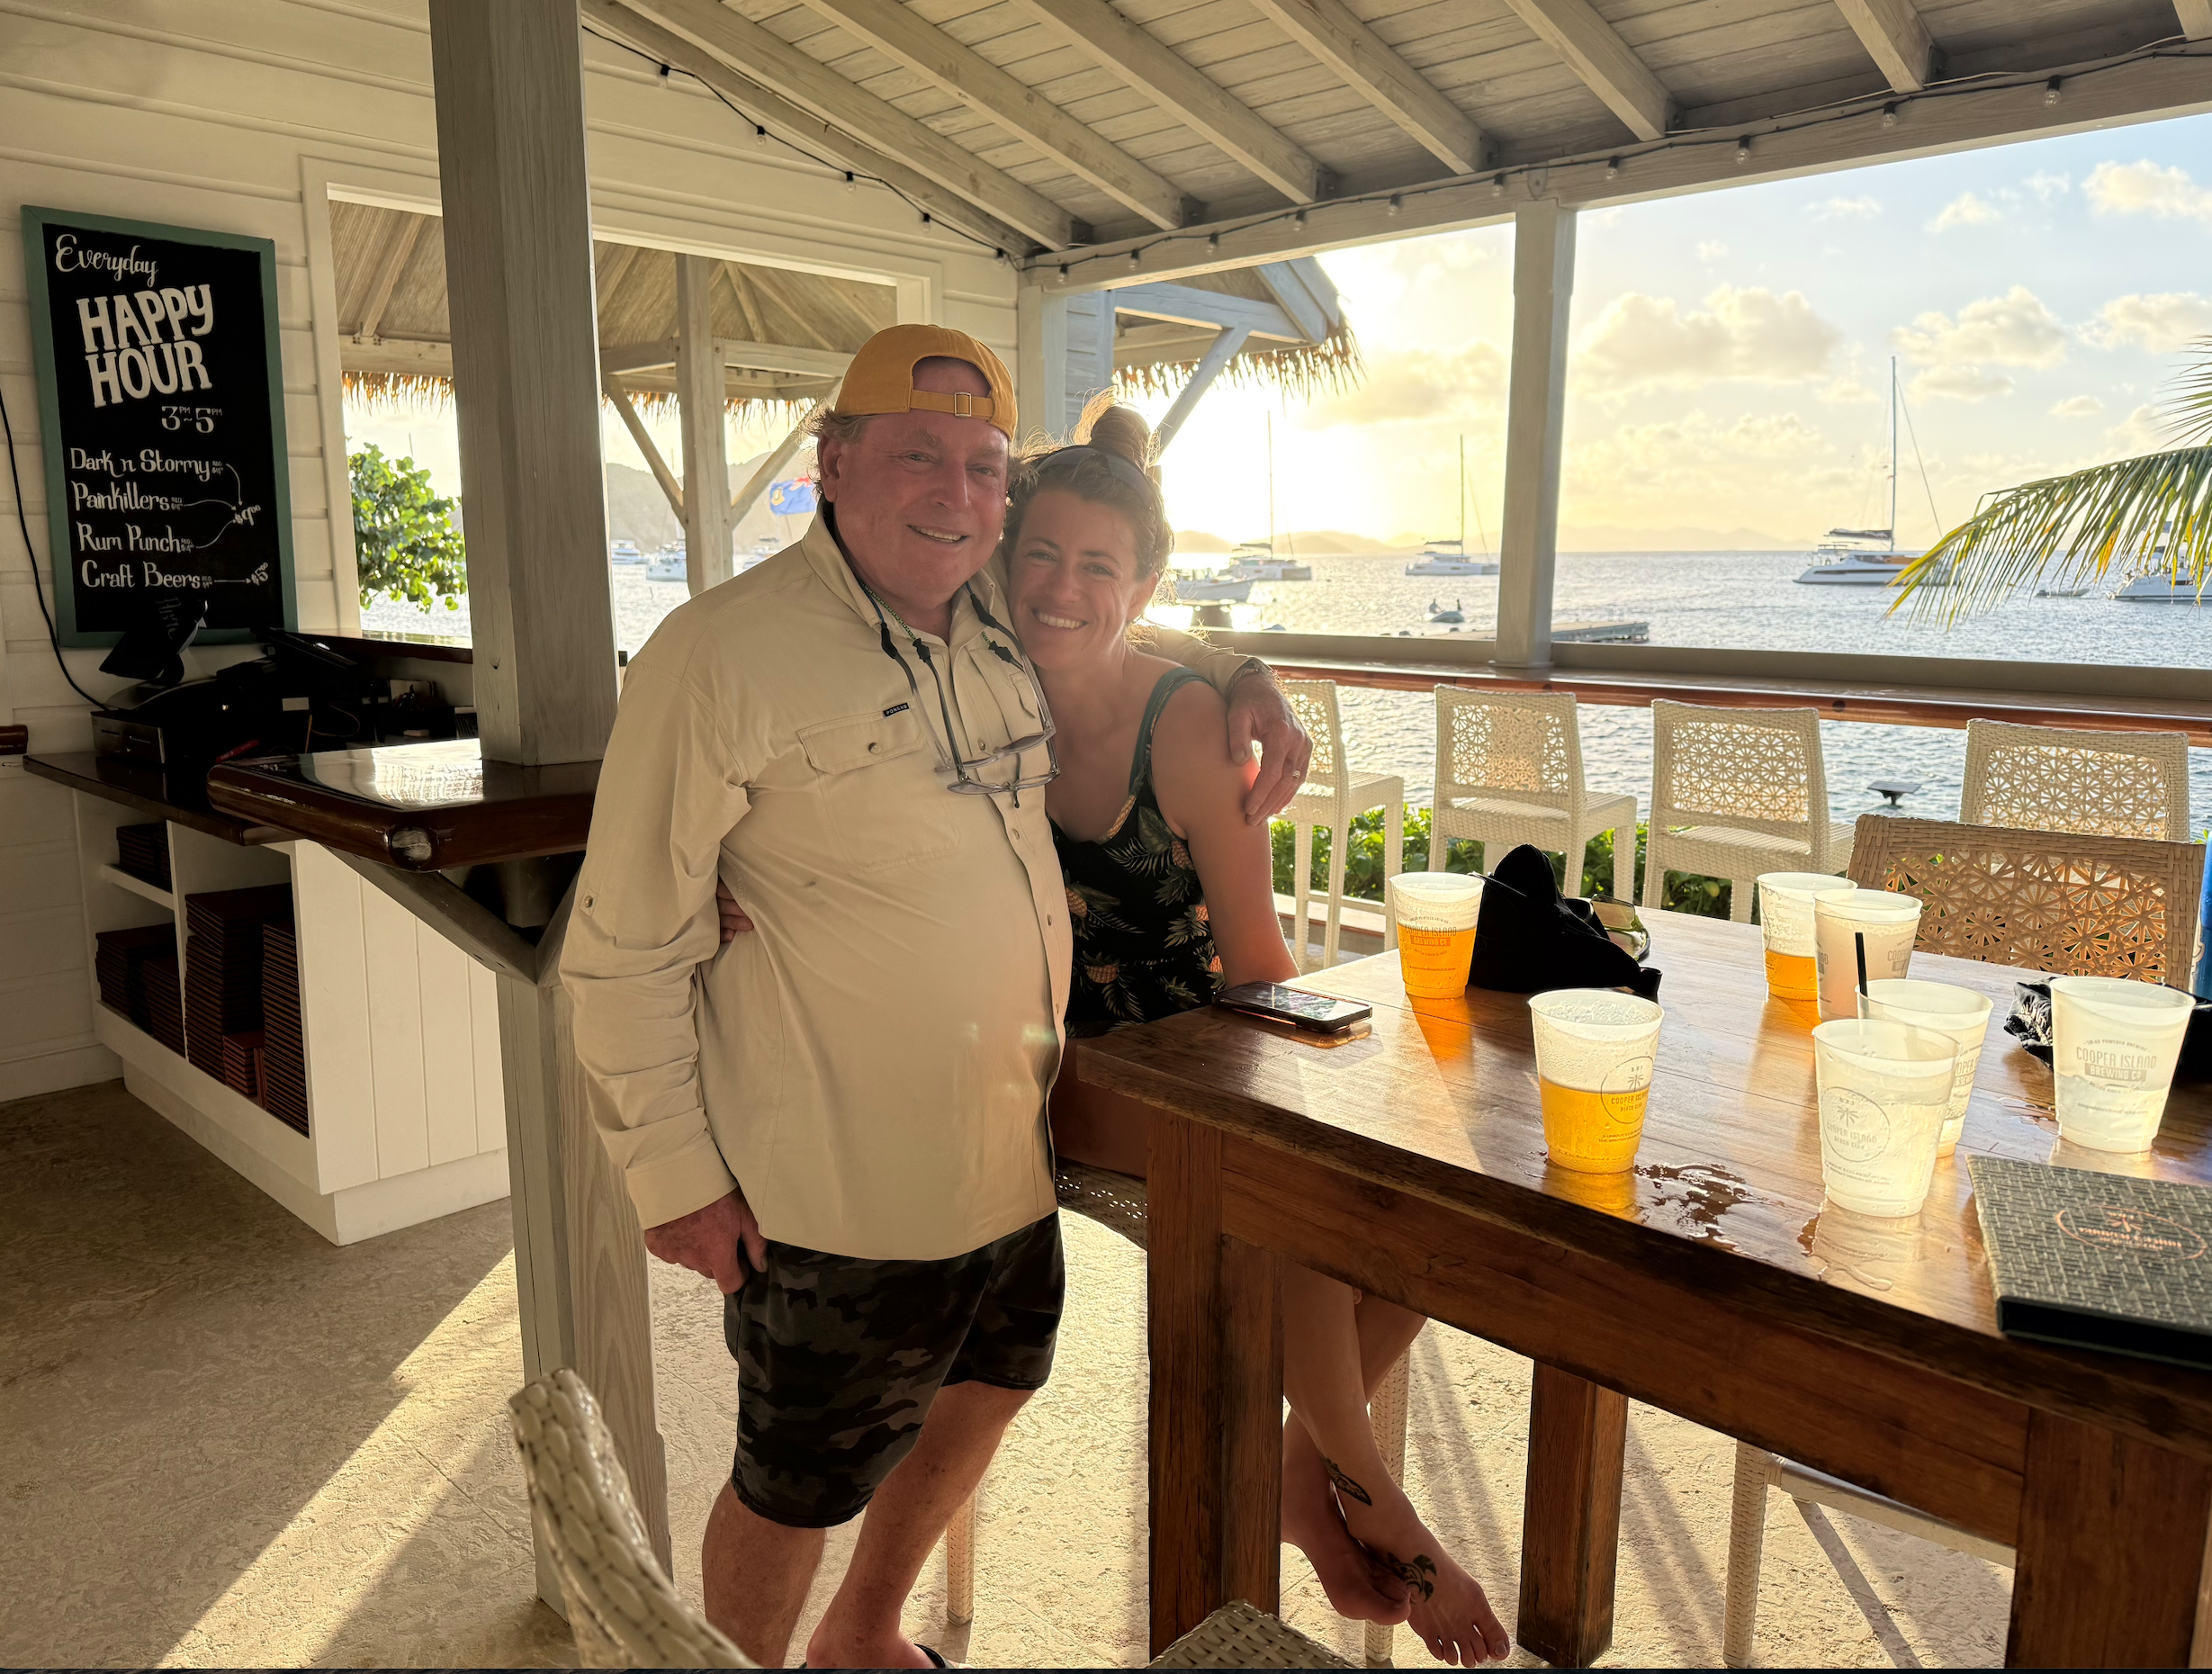
Once arriving at Cooper and linking onto our Boaty Ball, we went into harbor to explore the cute shops and stores. There’s a distillery, coffee shop, dive shop, brewery, and restaurant on shore. The brewery / restaurant has happy hour from 3-5pm with $5 beers and $9 drink specials. We found the only way to eat out was to optimize on happy hour, so of course we were there until 5pm!
We also rented dive gear at Sail Caribbean Divers. They offered 2 tanks and gear for $65, which is a pretty good deal for the area. Since I’m a divemaster, I felt comfortable not doing a guided tour and just grabbing the gear as we wanted to hit the Rhone Wreck in the morning. The team was awesome and I highly recommend them if you’re in the area! The shop is only open from 8:30am-4pm as the employees take the ferry back to Road Town, so make sure to time it right.
Day 3: Cooper Island, Rhone Wreck, and sail to Saba Rock
Our destination today was another Boaty Ball location. We got on early and unfortunately did not get a mooring ball (to my group’s dismay / stress), but there were first come first serve spots available so we decided to risk our luck.
In the morning we headed over to the west side of Salt Island in Lee’s Bay to dive the Rhone Wreck. This wreck is pretty great because it’s situated at nearly exactly 60 ft and it’s really easy to navigate, so it’s good for all level divers. Note that the wreck is in an incorrect spot on google maps! You should go to coordinates (18.369070, -64.534683) where you will see many mooring balls. The wreck is just underwater from these mooring balls. For those snorkeling, there is a smaller piece of the wreck located closer to shore that you can see.
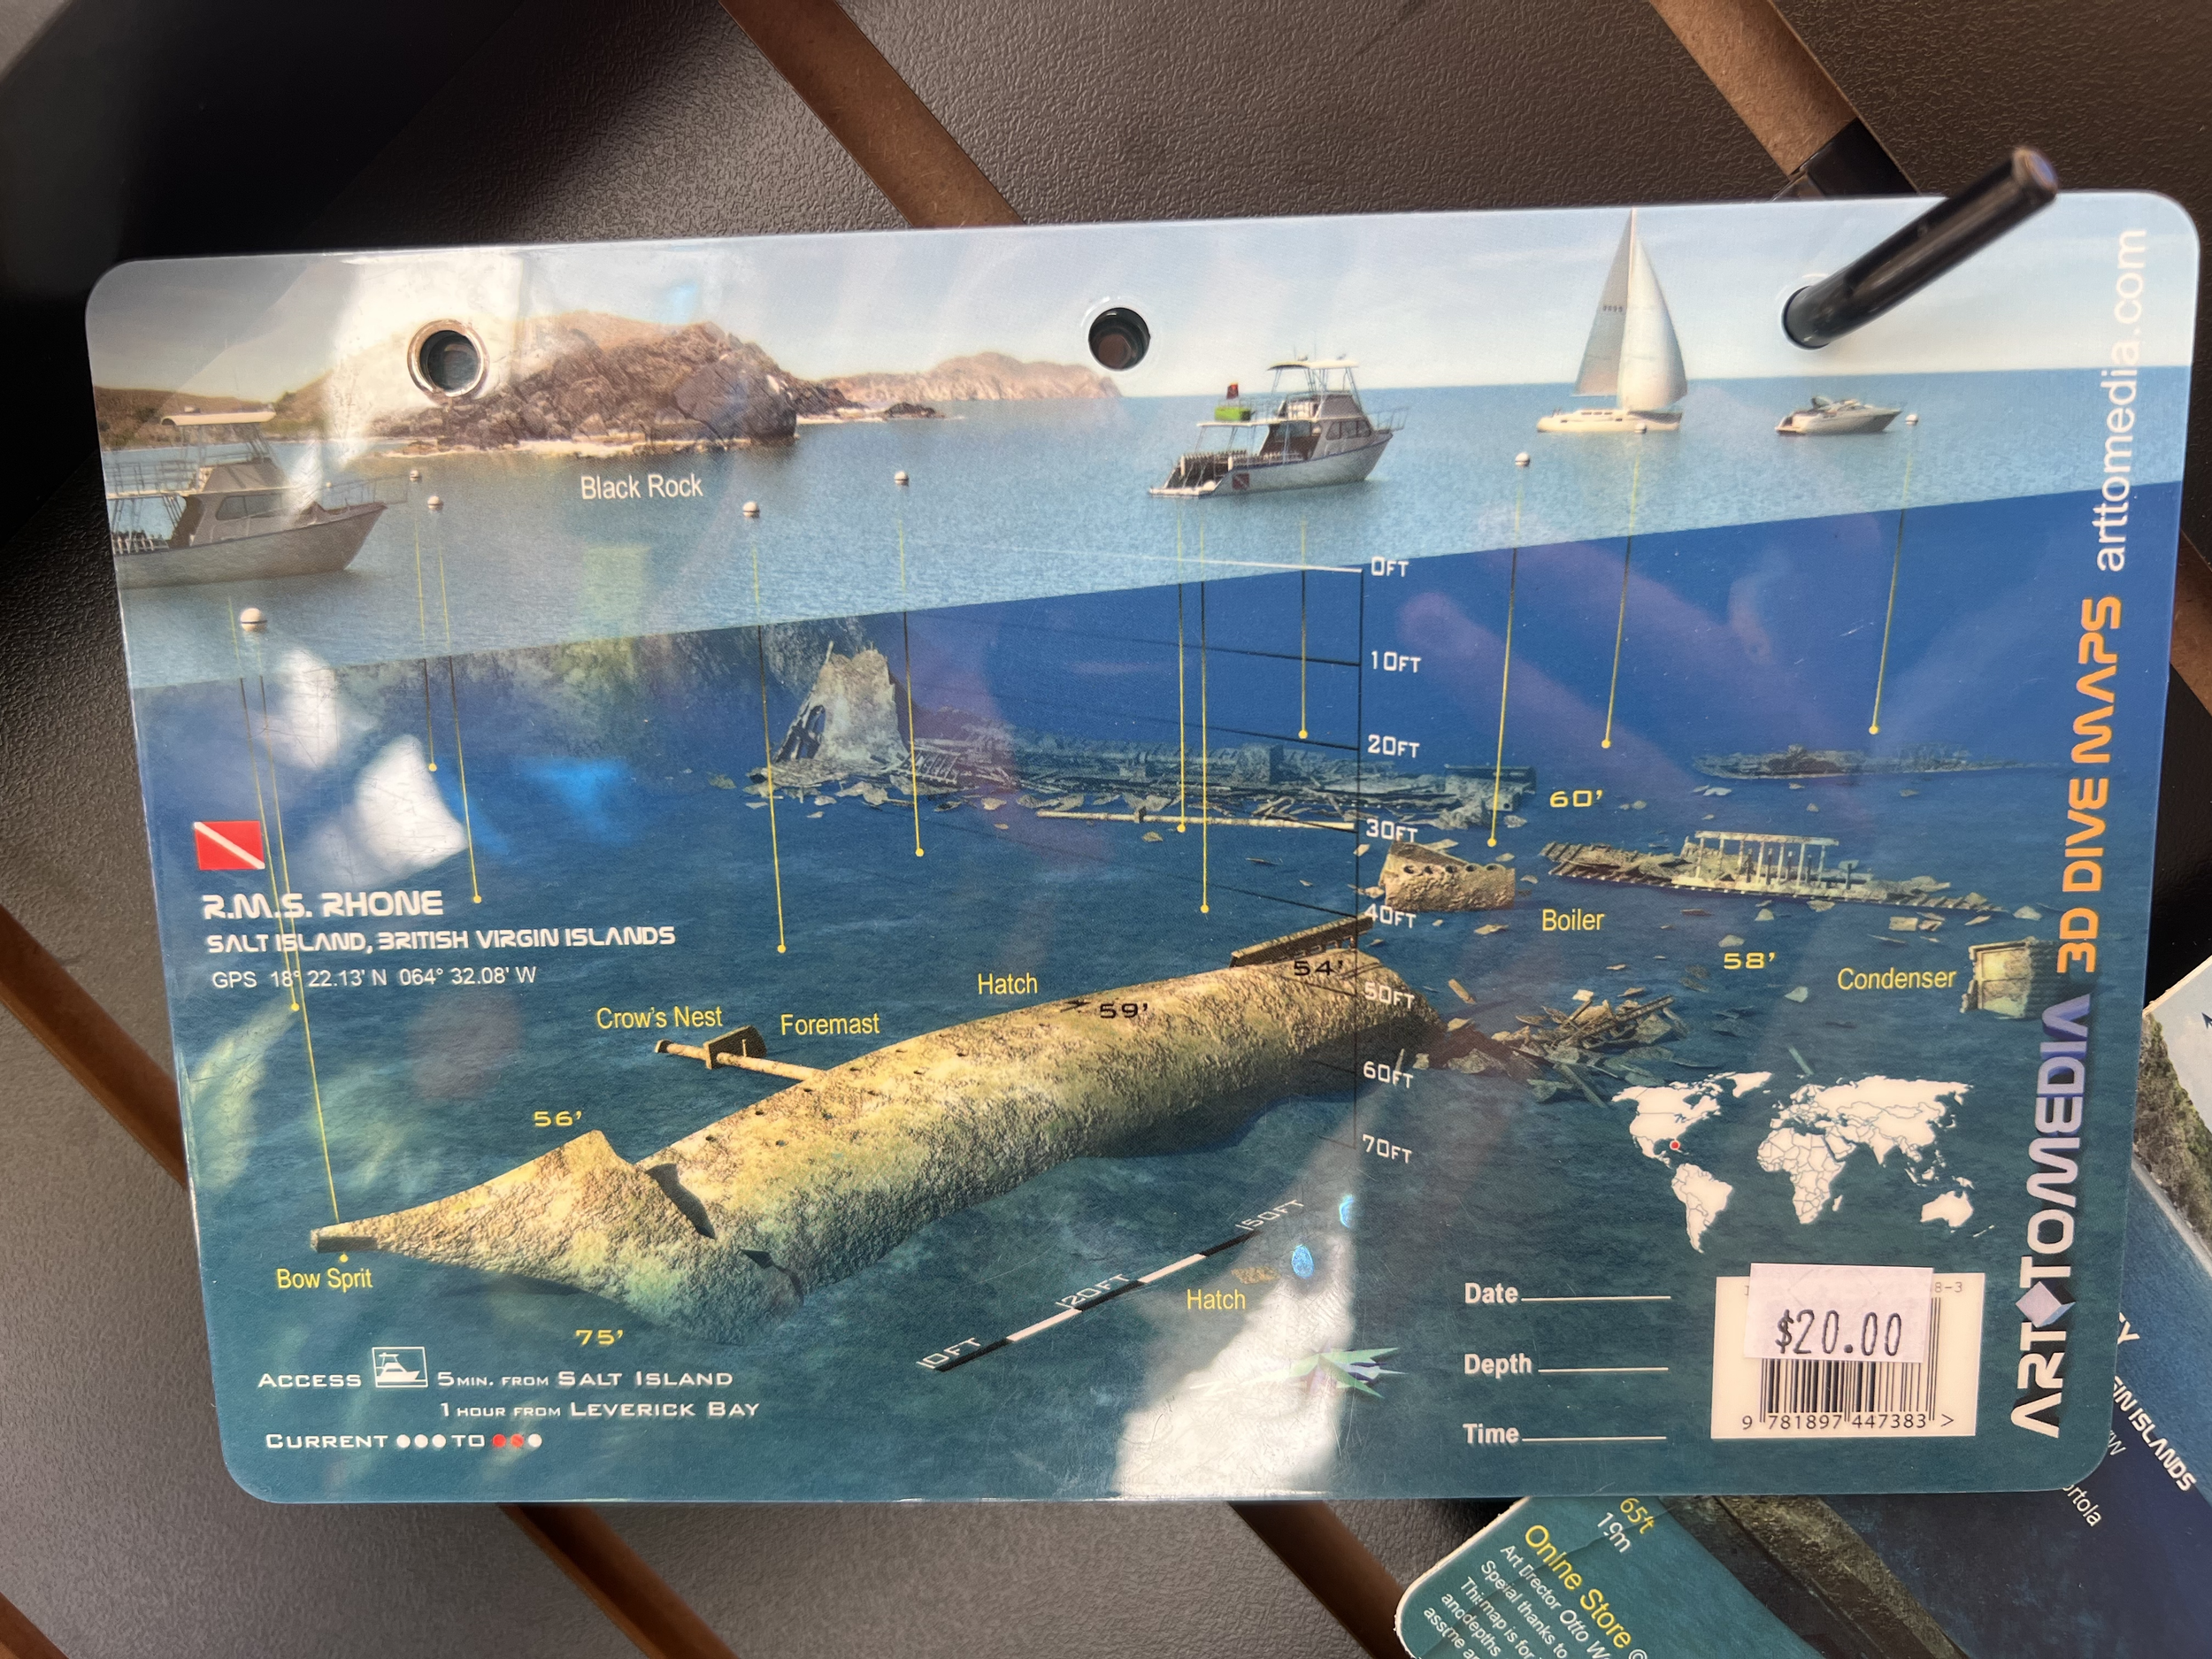
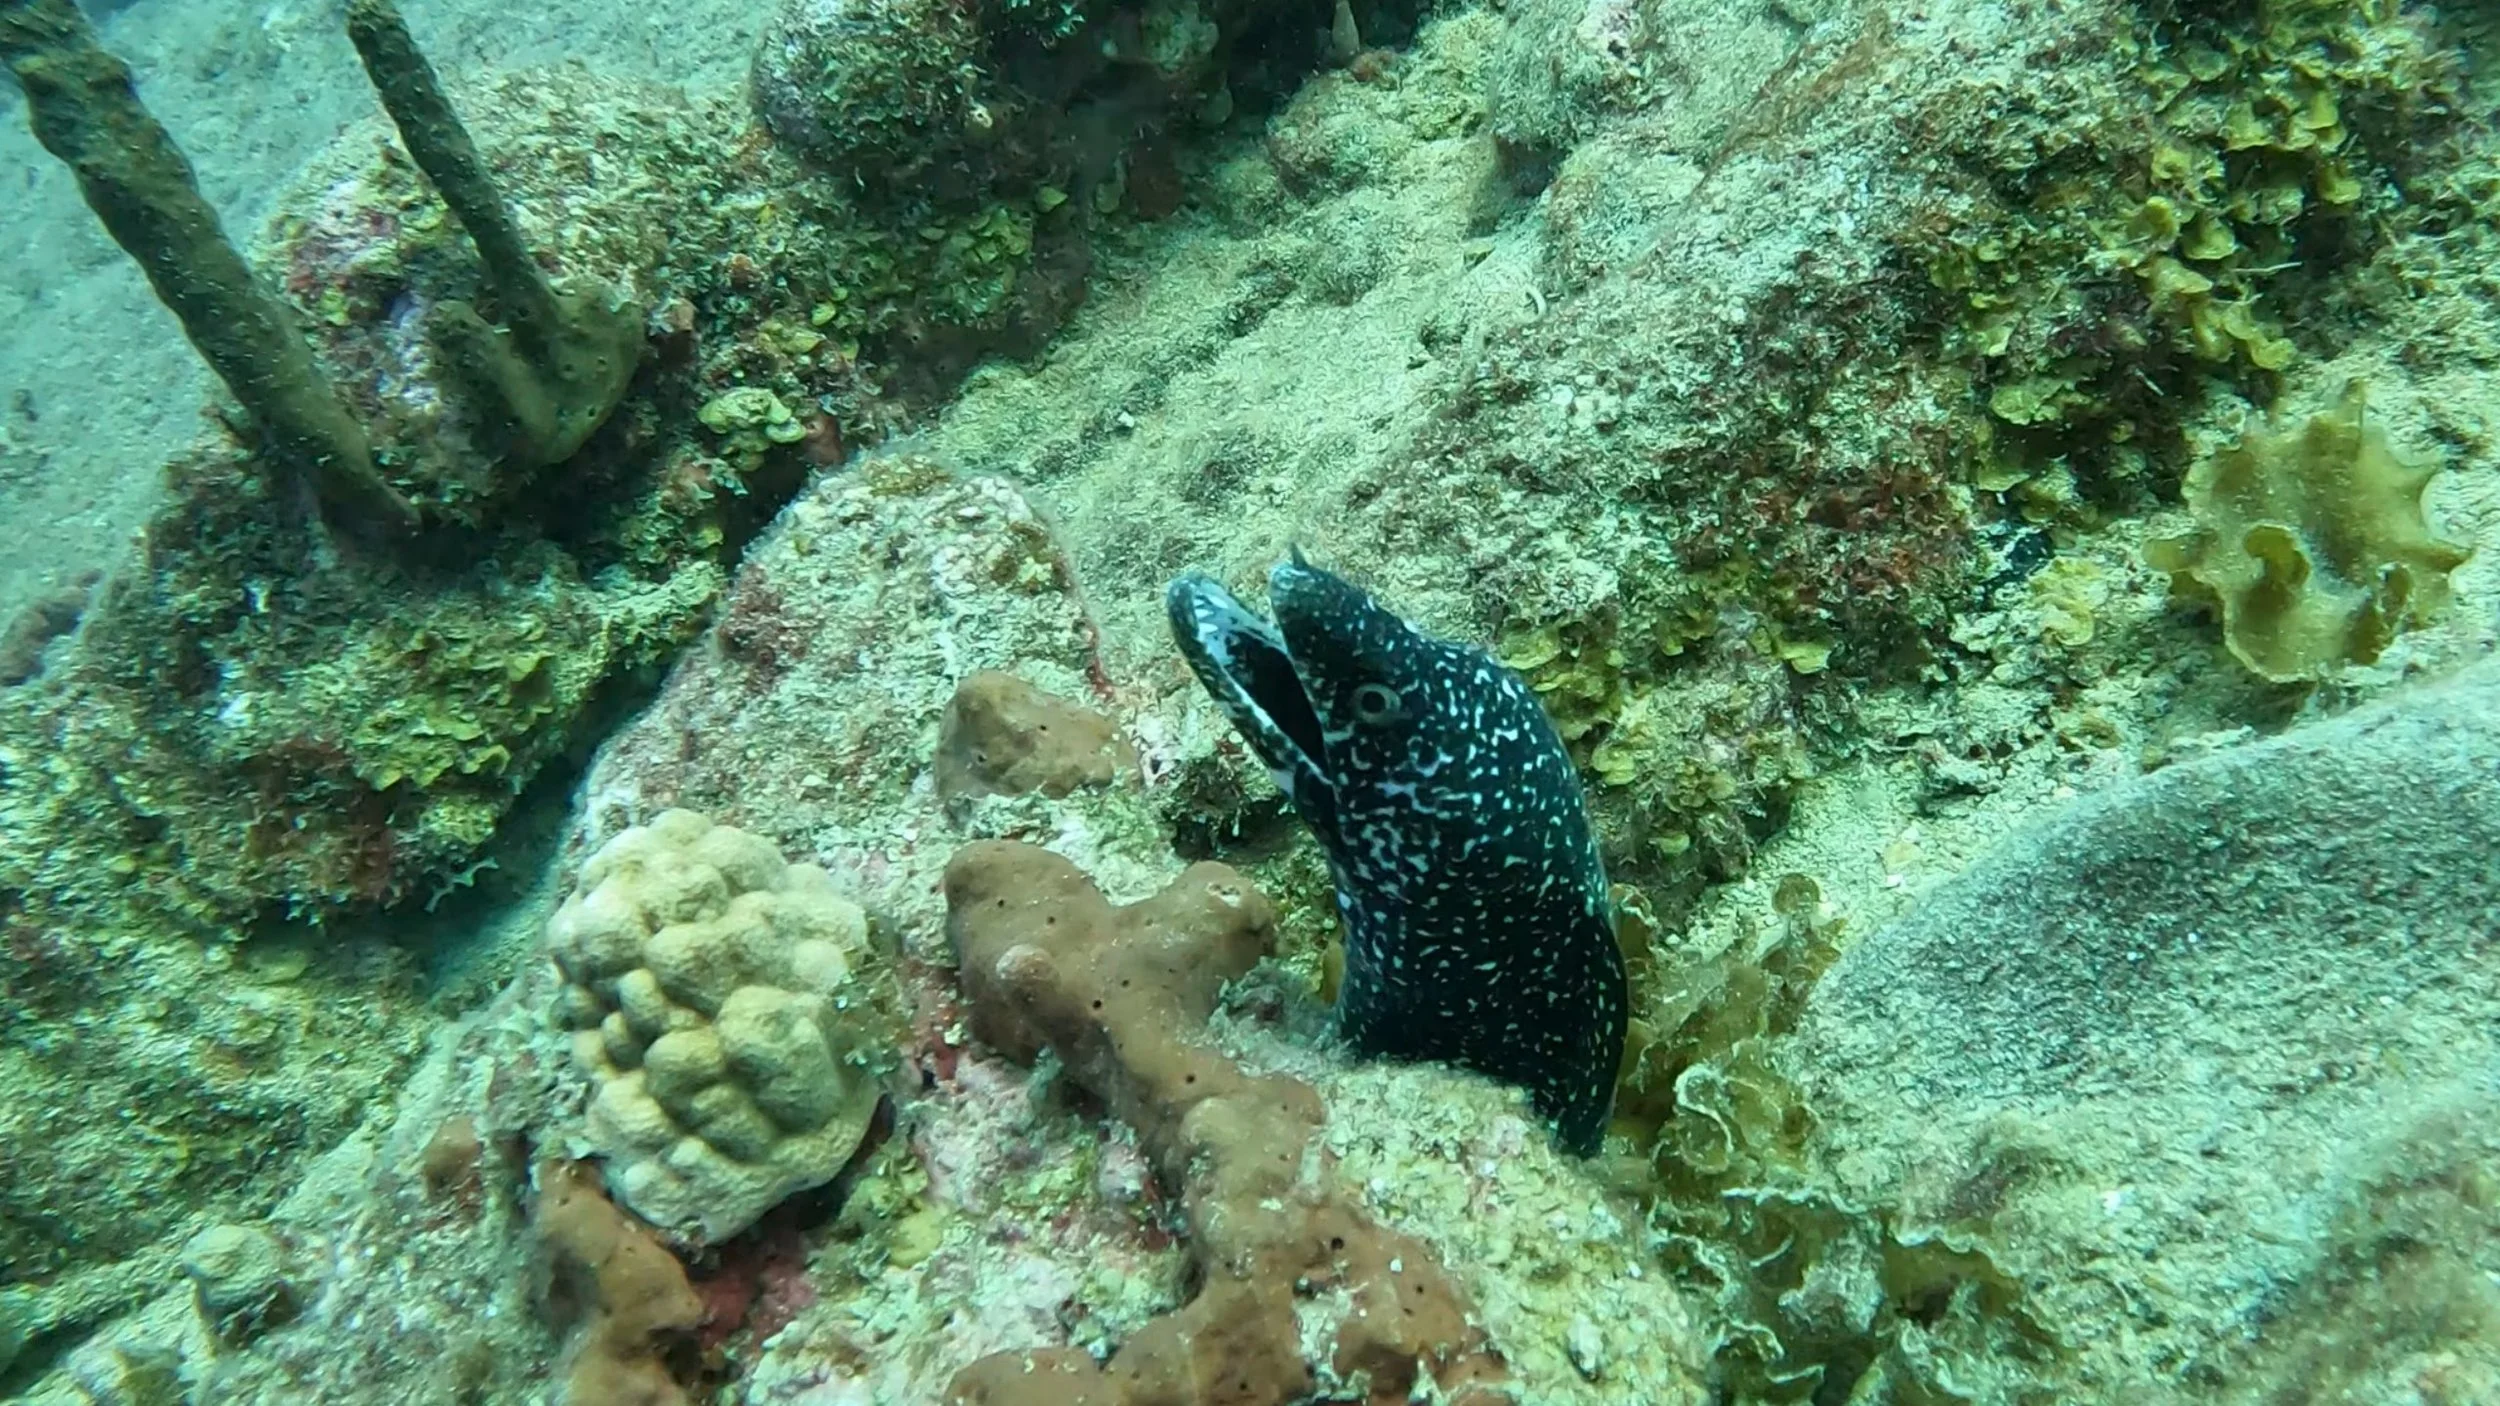
We did 2 dives here, one on the wreck (where you can do a swim through!) and the second going up the sandy bottom towards shore, shallowing up to around 30ft where other debris pieces are. I saw a lot of life here, including: sting rays, moray eels, a huge black tipped reef shark, lion fish, puffer fish, and a remora (also called a sharksucker - looks like a small shark but it’s a cleaner fish!). I really enjoyed this area.
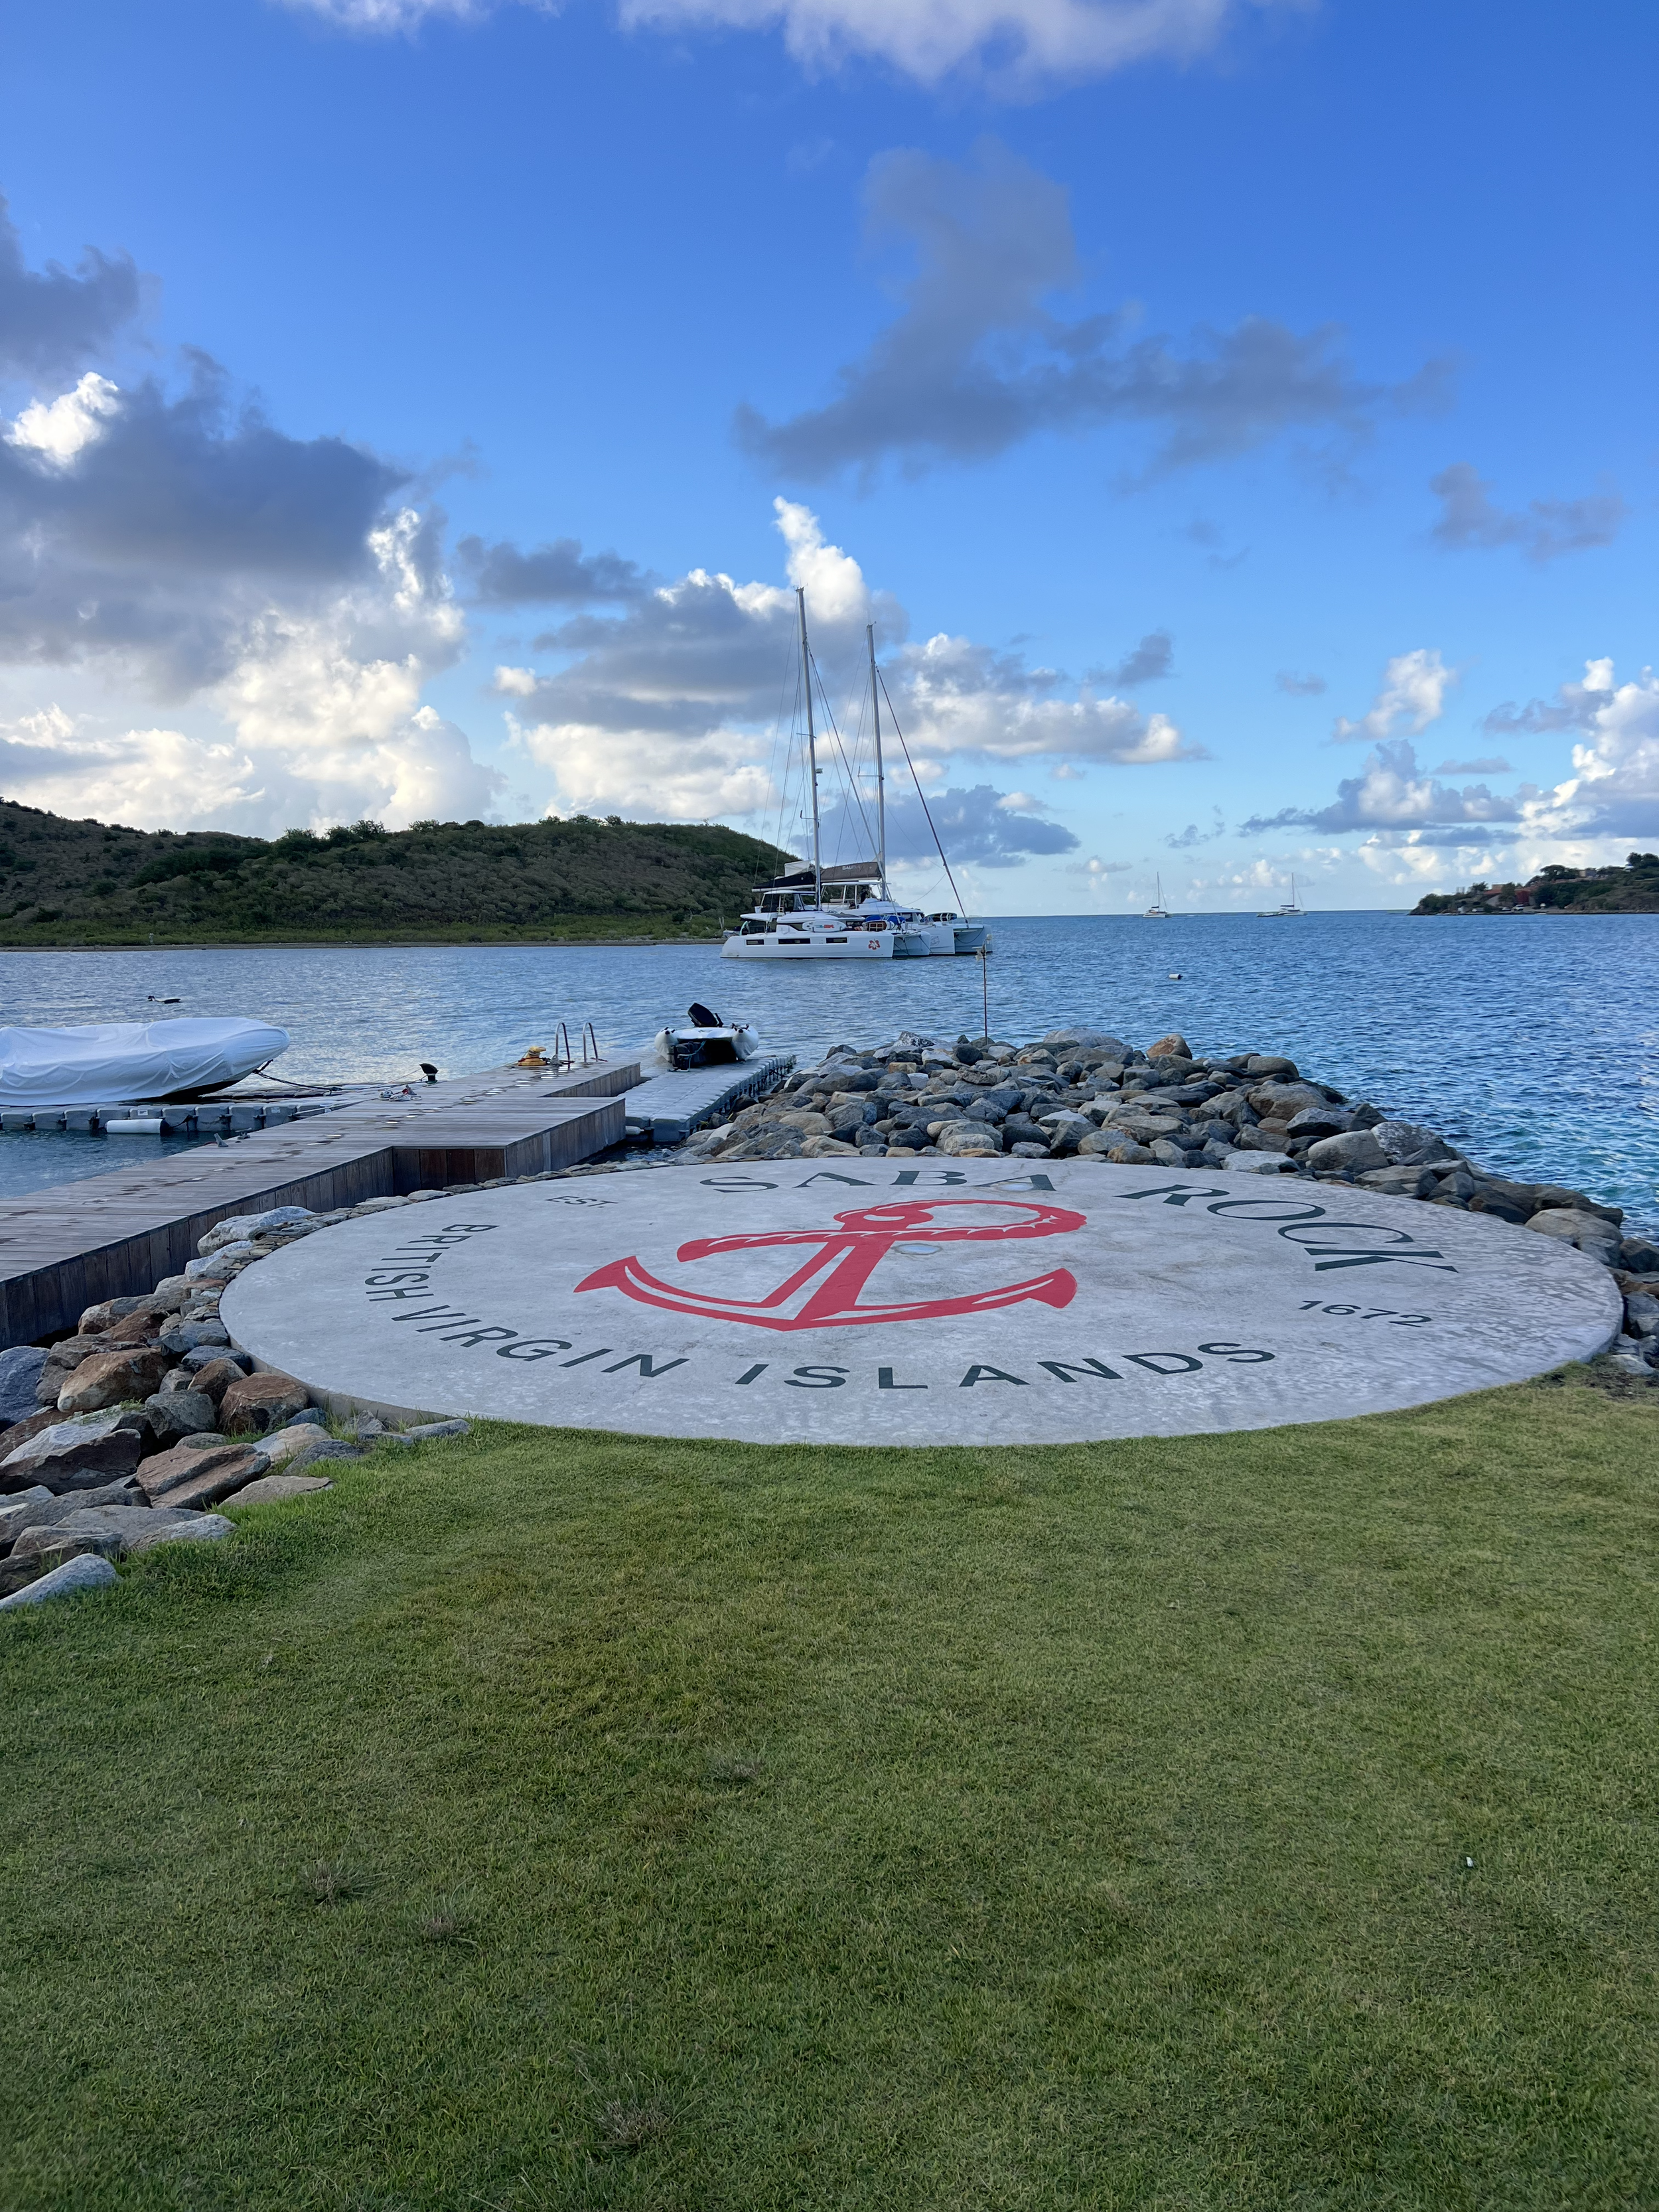
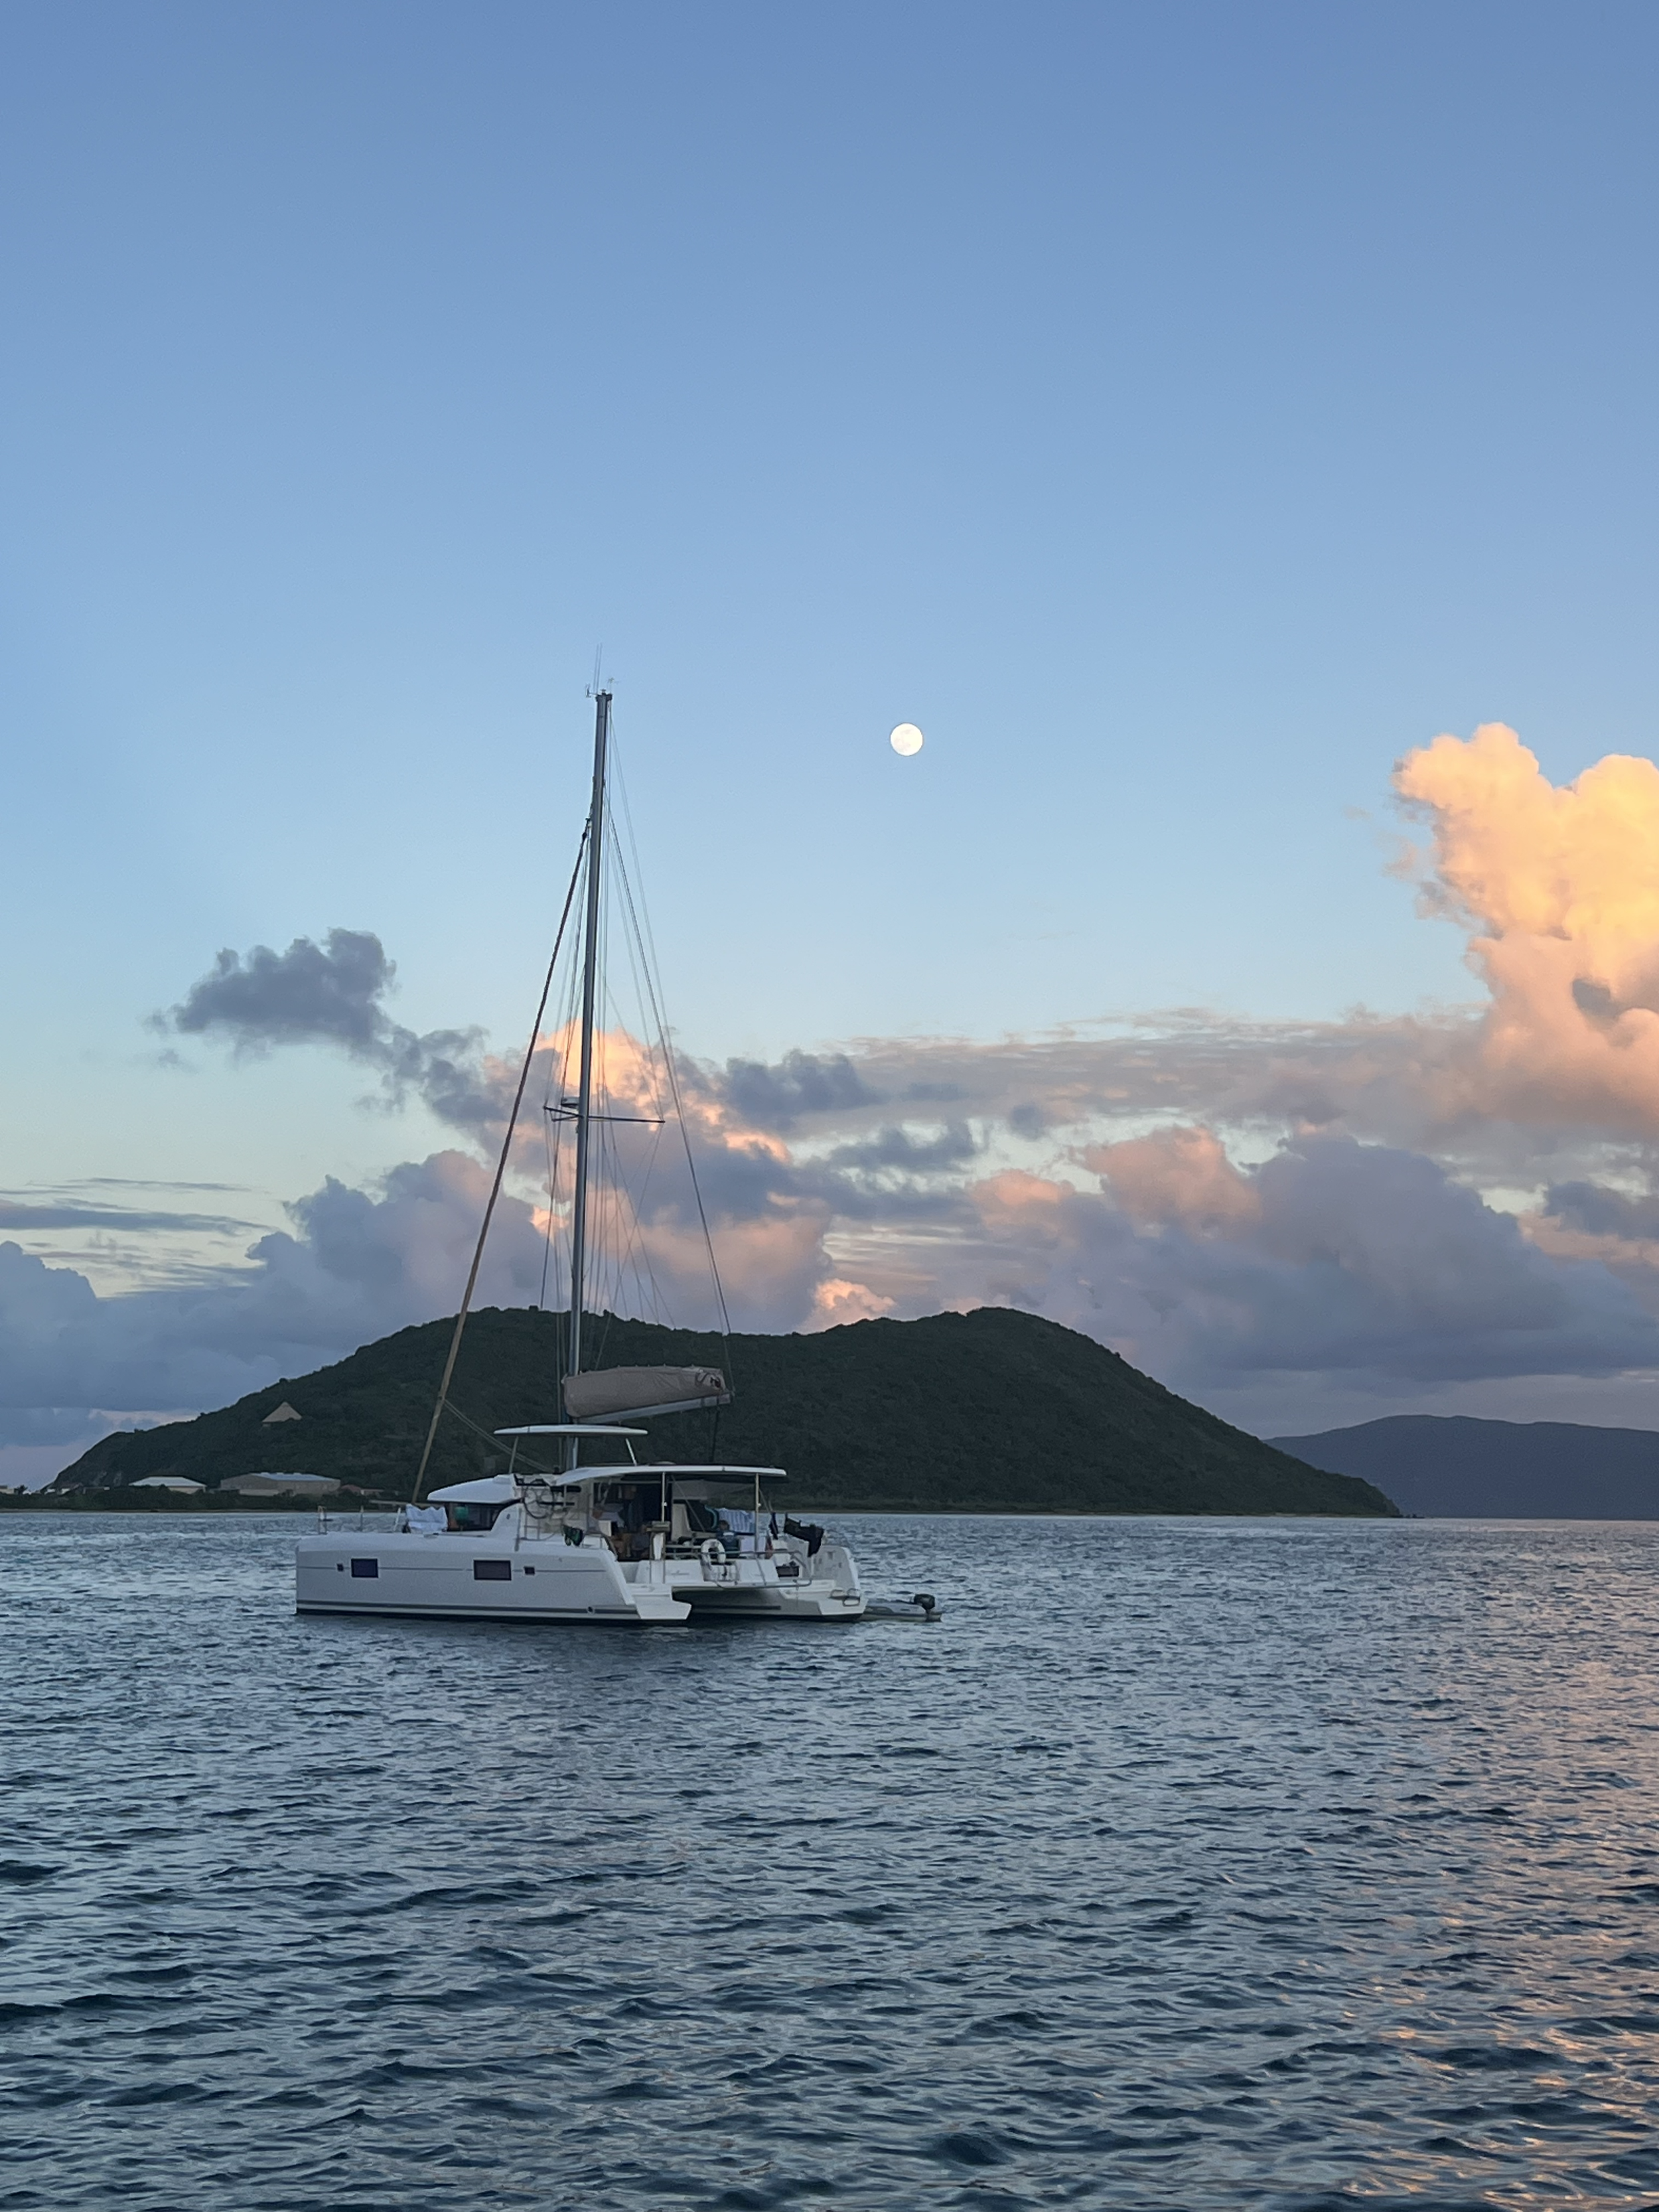
After dropping our scuba gear off at Cooper, we sailed / motored to Saba Rock (our group was worried about getting a mooring ball). It was a long trip but went pretty quick as we had to go around Virgin Gorda to get to our spot. We got the second to last mooring ball (yay!) and enjoyed our evening at Saba Rock.
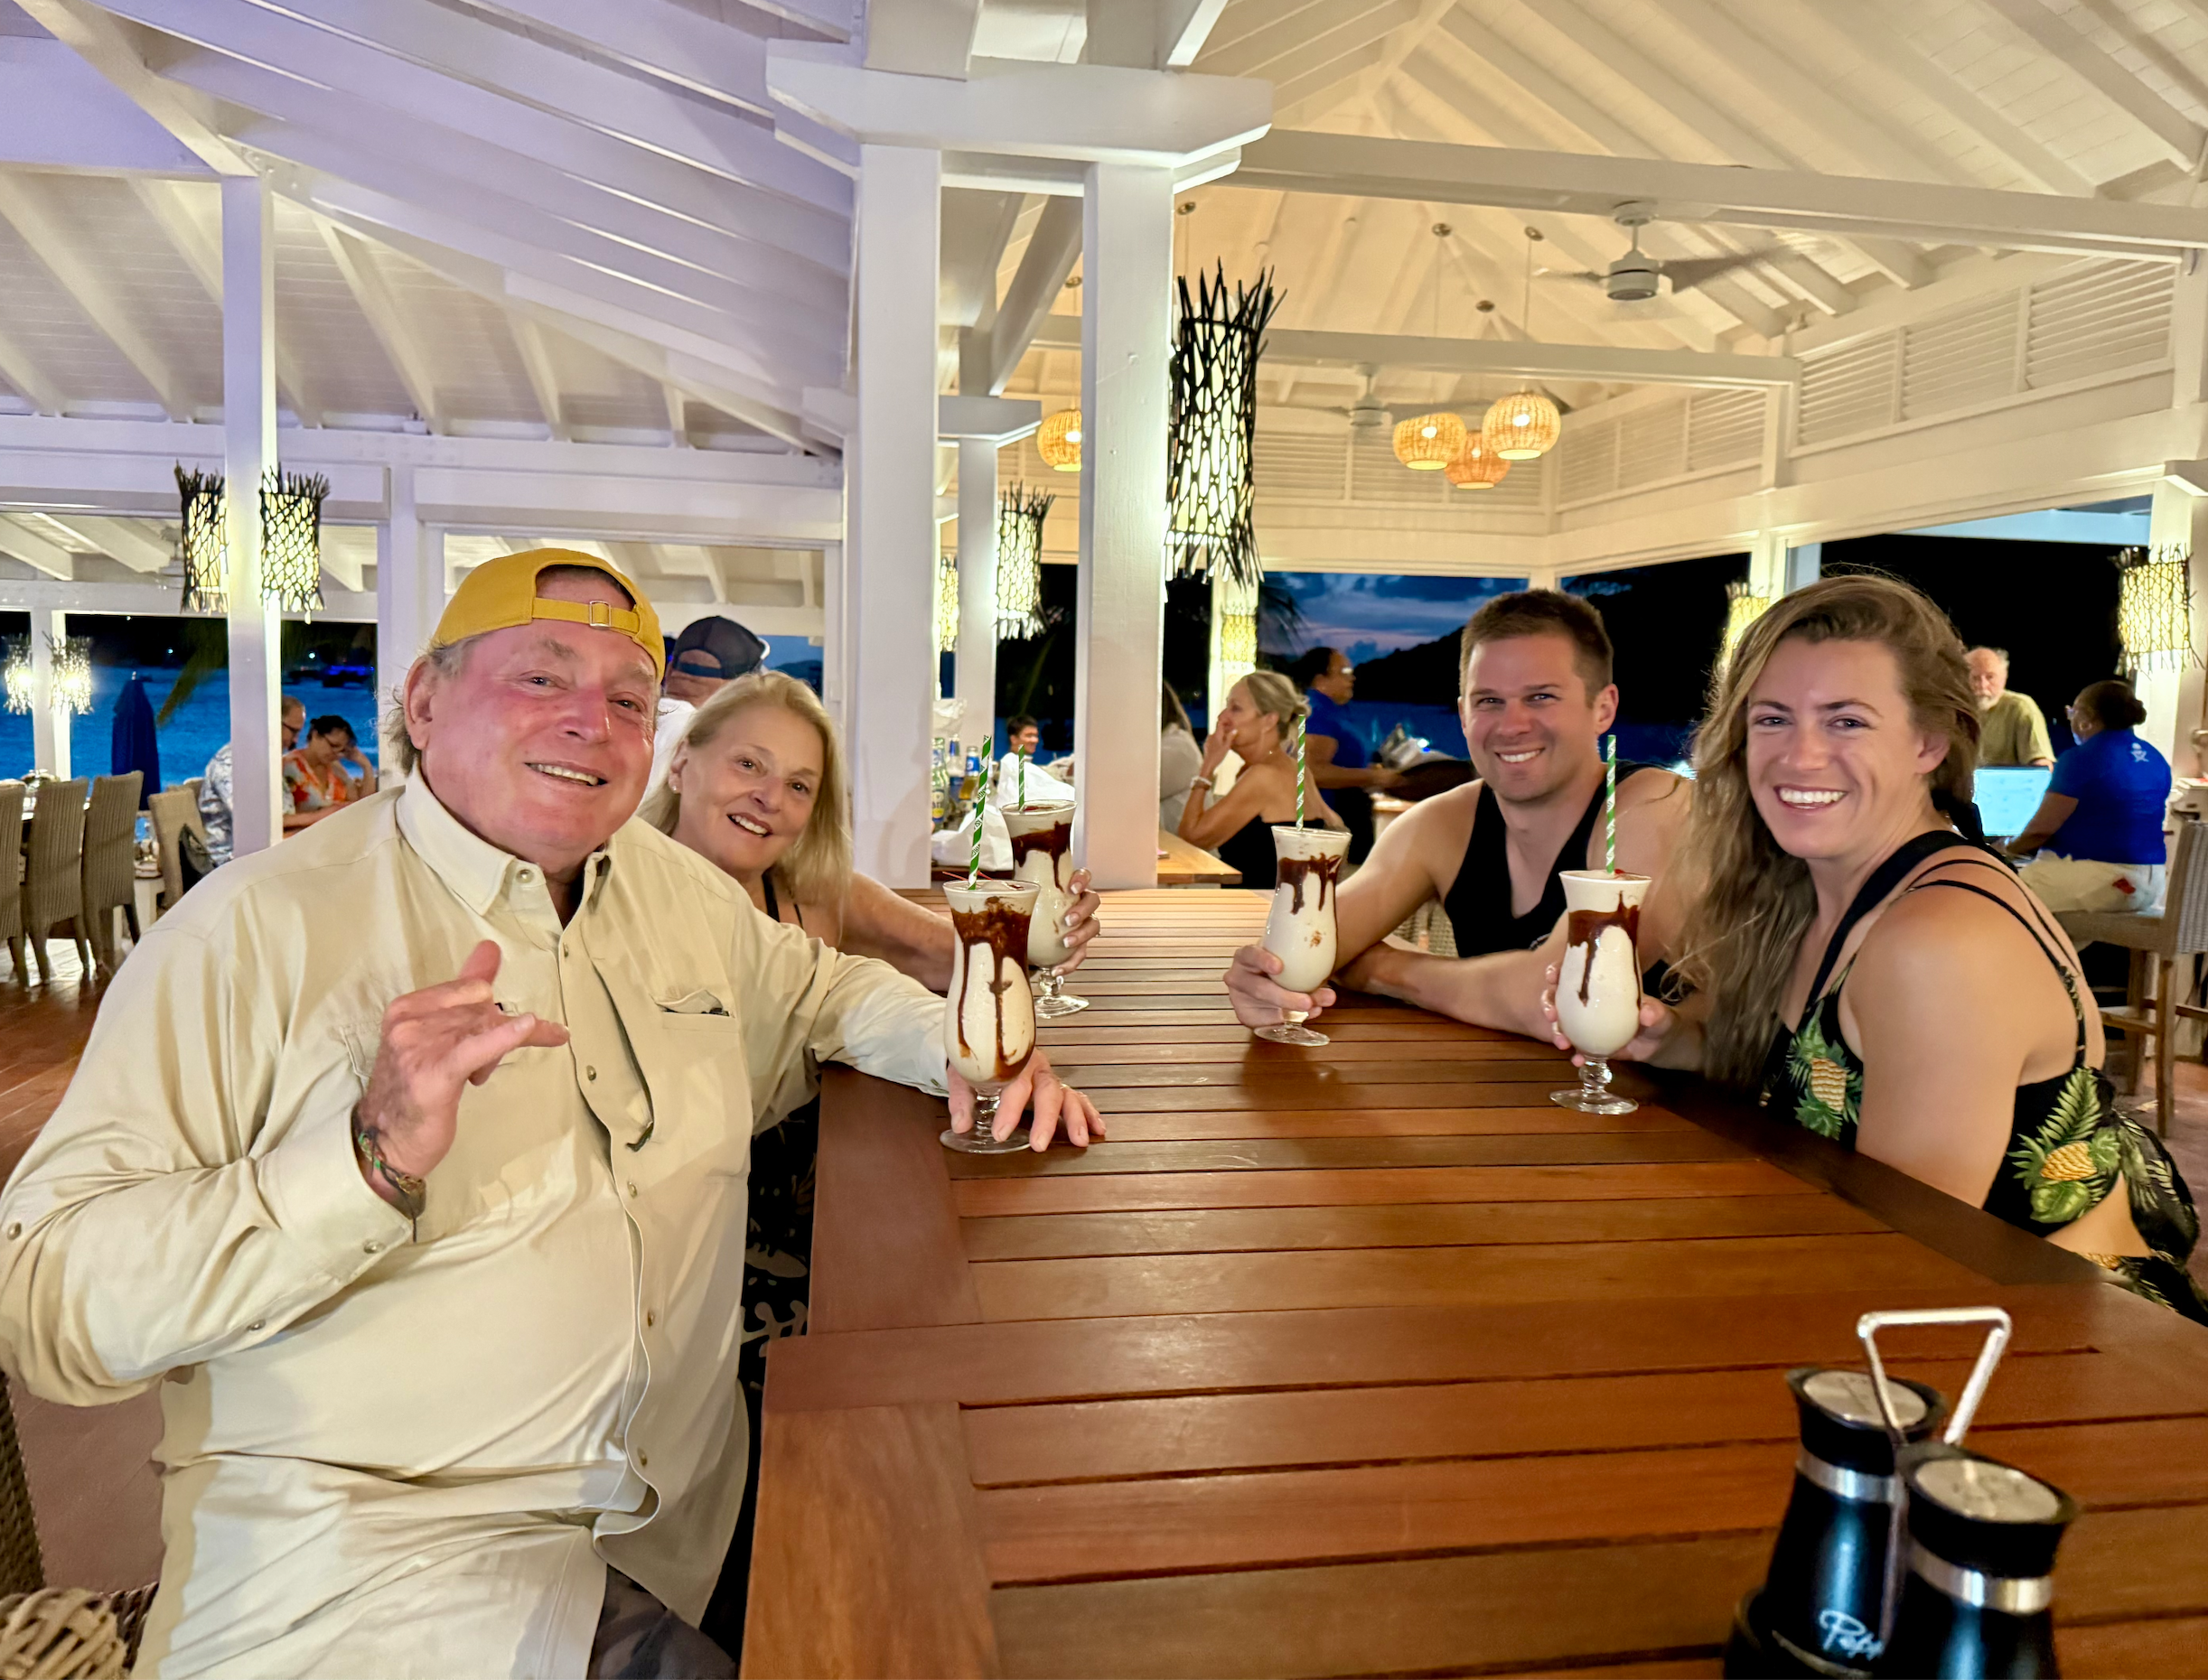
This was my favorite place we stayed. The bitter end yaght club has been totally redone since Hurricane Irma and has a restaurant, hotel, boat rental area, and lots of events. While I was there, they hosted trivia at night (we went, it was short but fun), paddle board yoga, and a small sail boat race (which was like $150, so out of our price range). We spent the early afternoon walking around here, and then went to Saba Rock resort across the water for happy hour.
At Saba Rock, there are shops and a hotel as well, but I liked the vibe much more! There’s a happy hour with $5 beers and wine, and at 5pm they feed the tarpin outside on the dock. I loved this spot - do not miss!
Day 4: Saba Rock to The Baths and sail to Marina Cay
In the morning, we sailed back down to the southern part of Virgin Gorda to “The Baths”. This is one of the most famous national parks in the BVIs - a natural rock formation that you can walk and swim through. The beaches here are gorgeous as well. This area has changed significantly in the last 2 years, and requires an entrance fee ($3/person) with a one-way path for hiking through the area. My family who has been coming here since the 60s was shocked with how much development there is. At the top of the hill, there are restaurants and an entrance kiosk. They check your ticket both when you enter and exit the main rock area, so make sure to keep it clean.
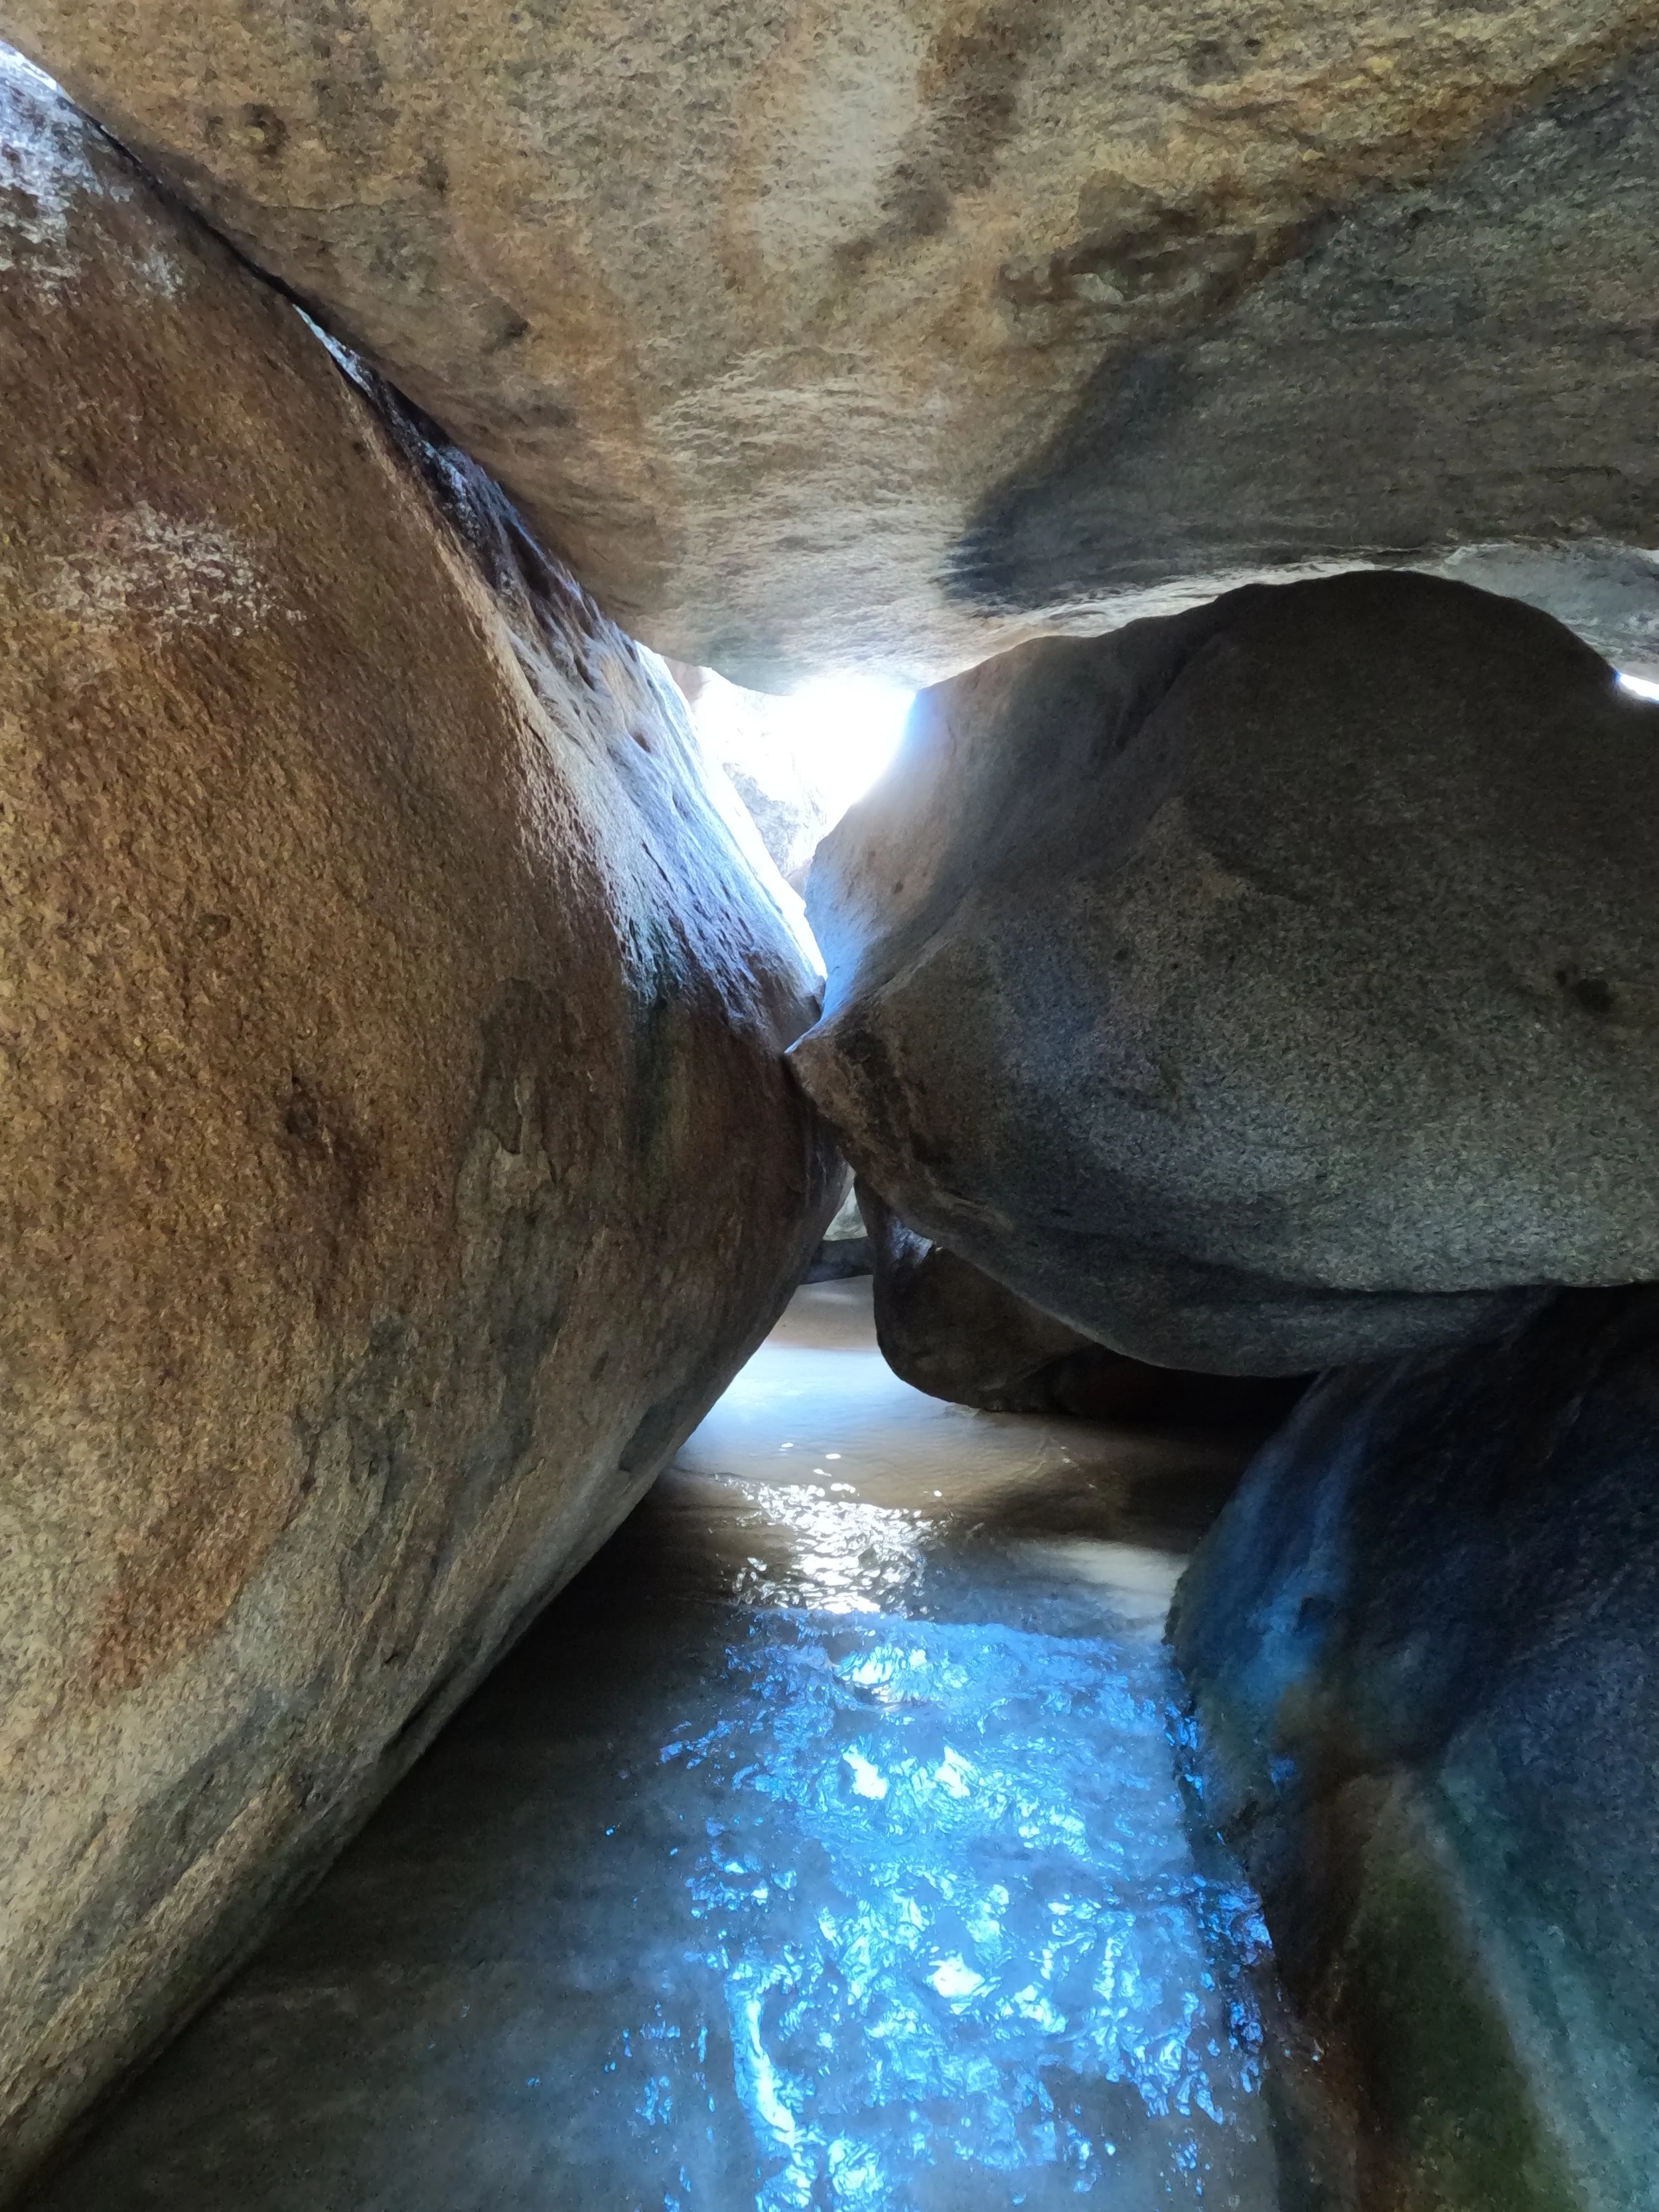

Debatably better than the rocks was Devil’s Bay beach. There is great snorkeling here and free diving. I found a number of “sea biscuits” (like sand dollars, but smaller and more round) in the sandy areas around 20ft below the surface.
We moored outside the park and swam in, the whole experience took about 3 hours.
After visiting the baths, we sailed over to Marina Cay and grabbed a first-come buoy. This area was highly affected by the hurricanes and has not come back completely. We explored both Marina Cay (only partially rebuilt) and Scrub Island Resort. There were no happy hours and a small, expensive shop. I would not recommend returning here in the future.
Day 5-6: Marina Cay to Jost Van Dyke
Jost Van Dyke is one of the most popular island in the BVIs, and as such, requires a boaty ball reservation! Good thing we’re pros at it now.
In the morning, we stopped at Monkey Point to do some snorkeling. Unfortunately there was not a lot of marine life here, possibly because of the wind, but it was still a nice experience. Then, we worked our sailing muscles and sailed to Jost Van Dyke.
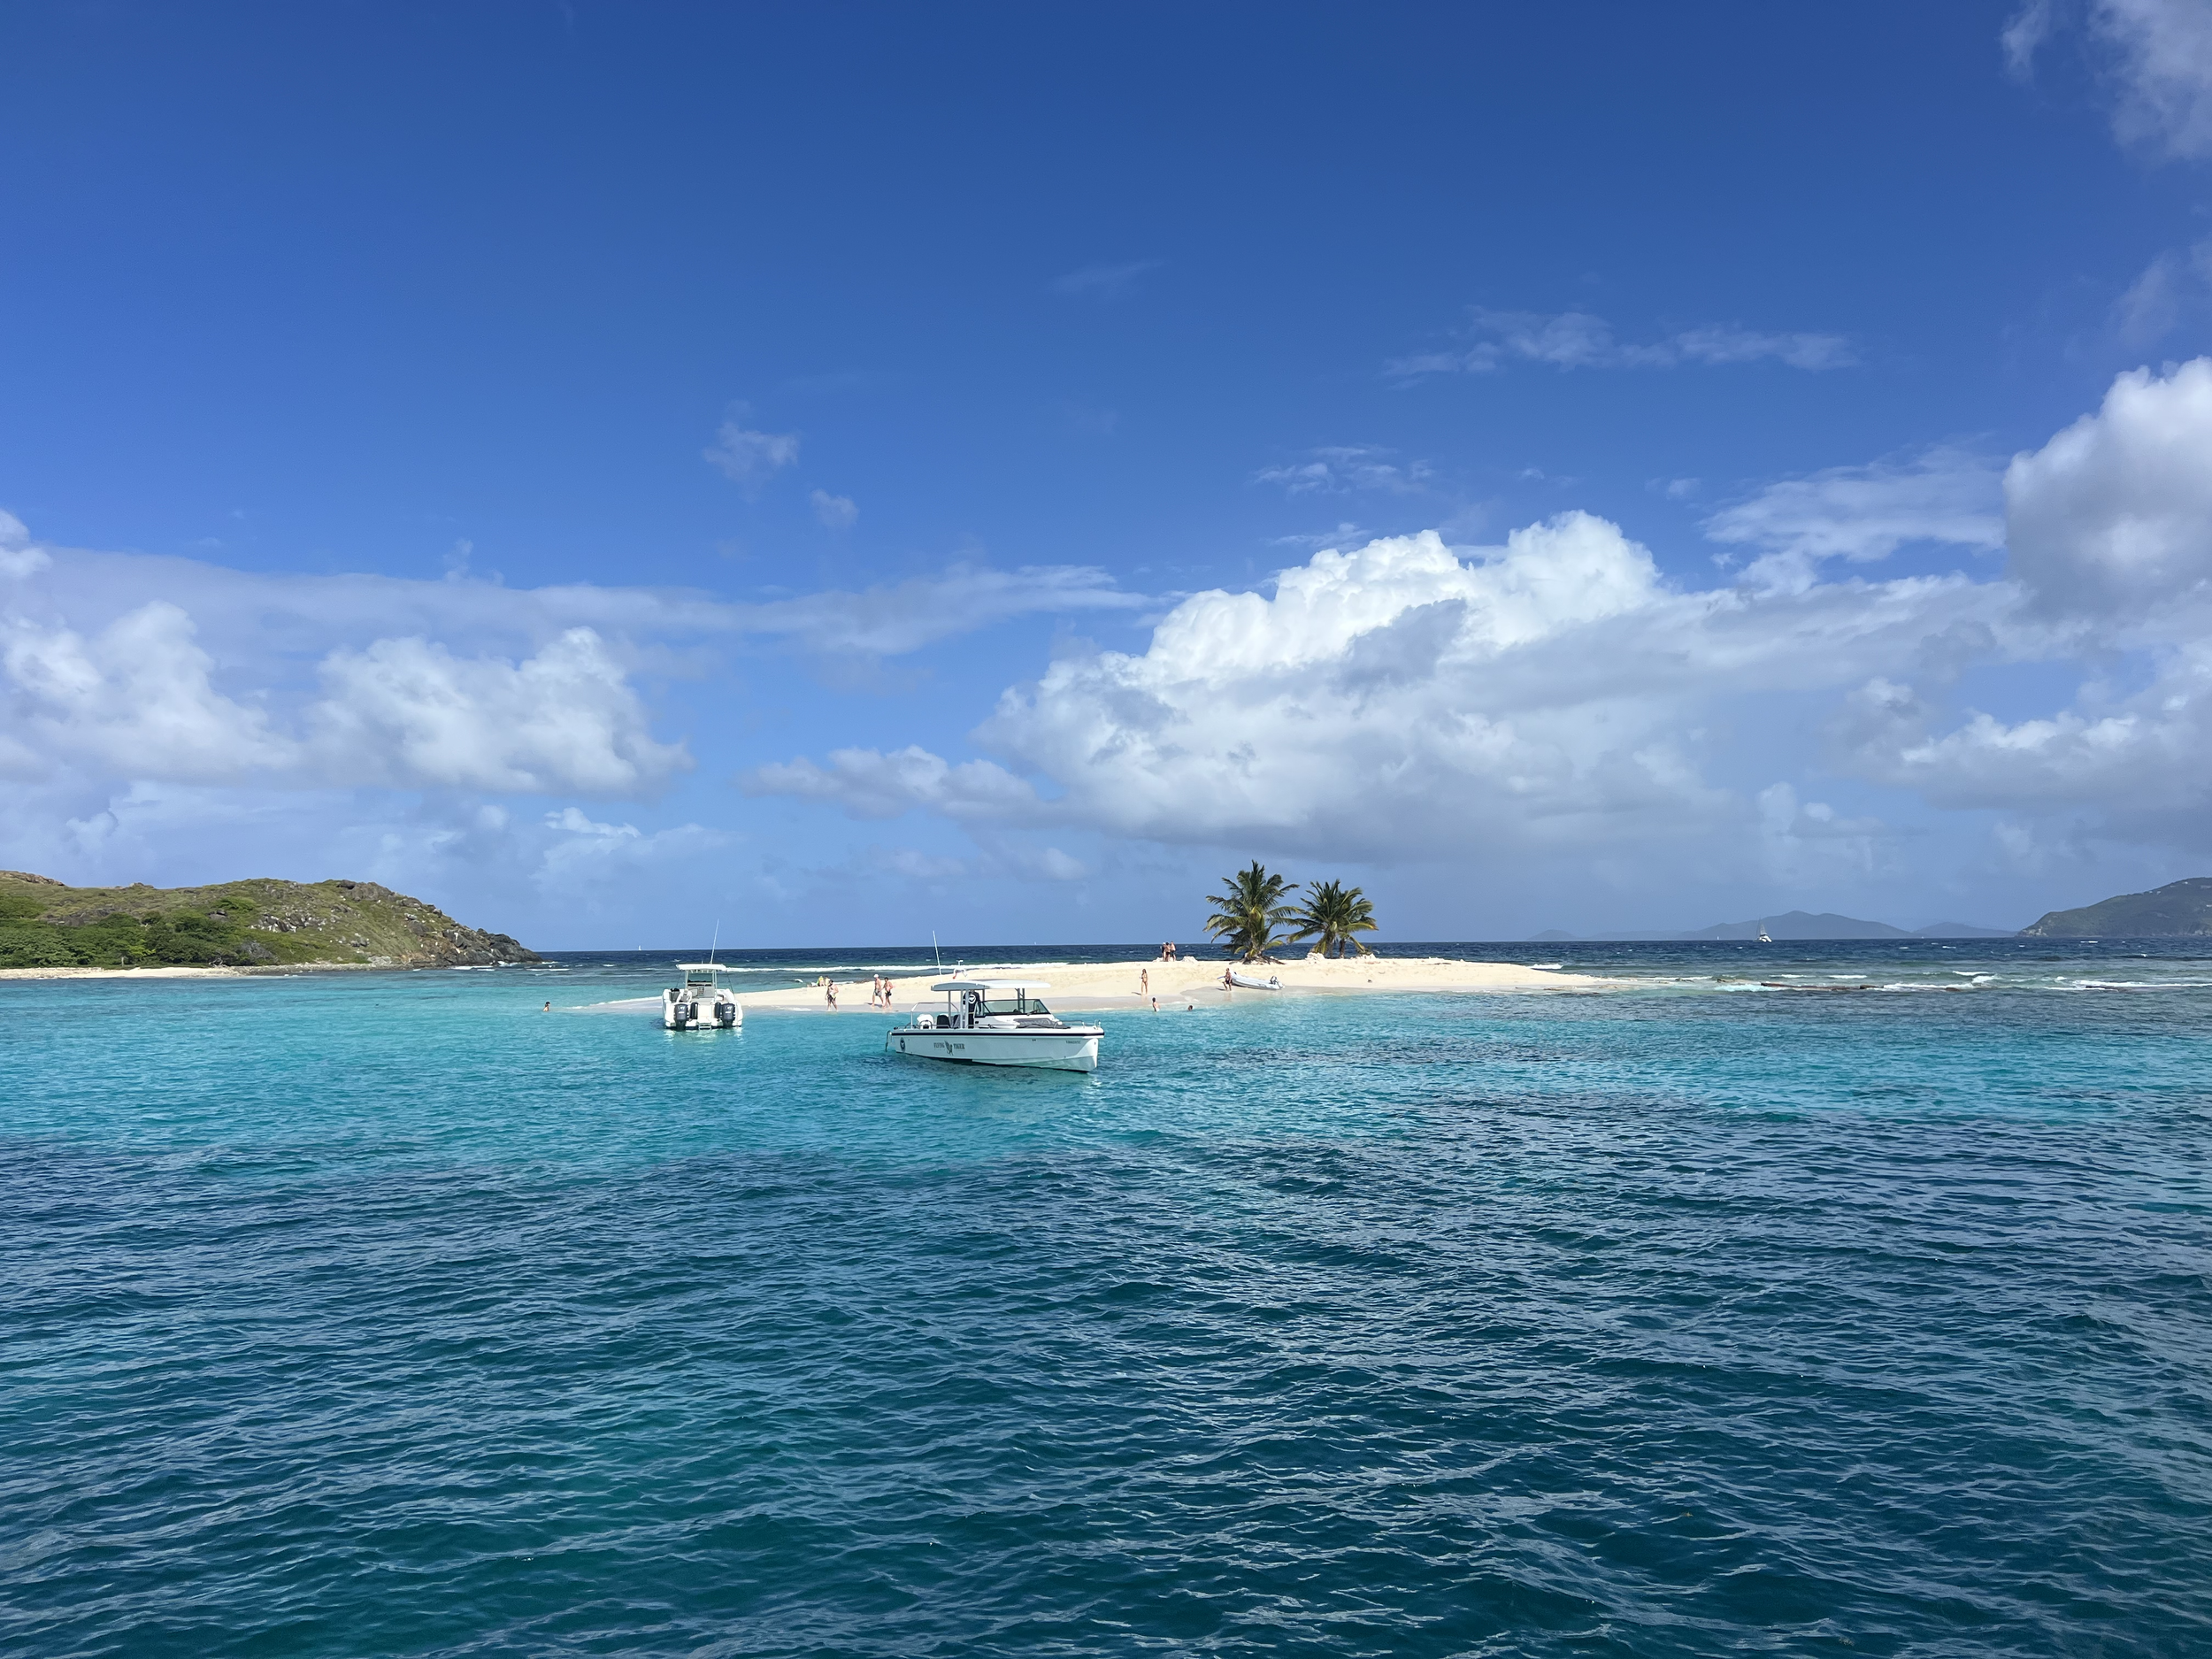
We stopped at Green Cay and anchored on the sand. This is a really small island with a few trees and some nice snorkeling options. It’s a good place for lunch. Then, we stopped in at Garner Bay to check out Sydney’s Peace and Love restaurant for fresh lobster. It looked absolutely amazing, but we decided not to have dinner there because our boaty ball was already booked and a nighttime dinghy ride was a little sus out to this bay.
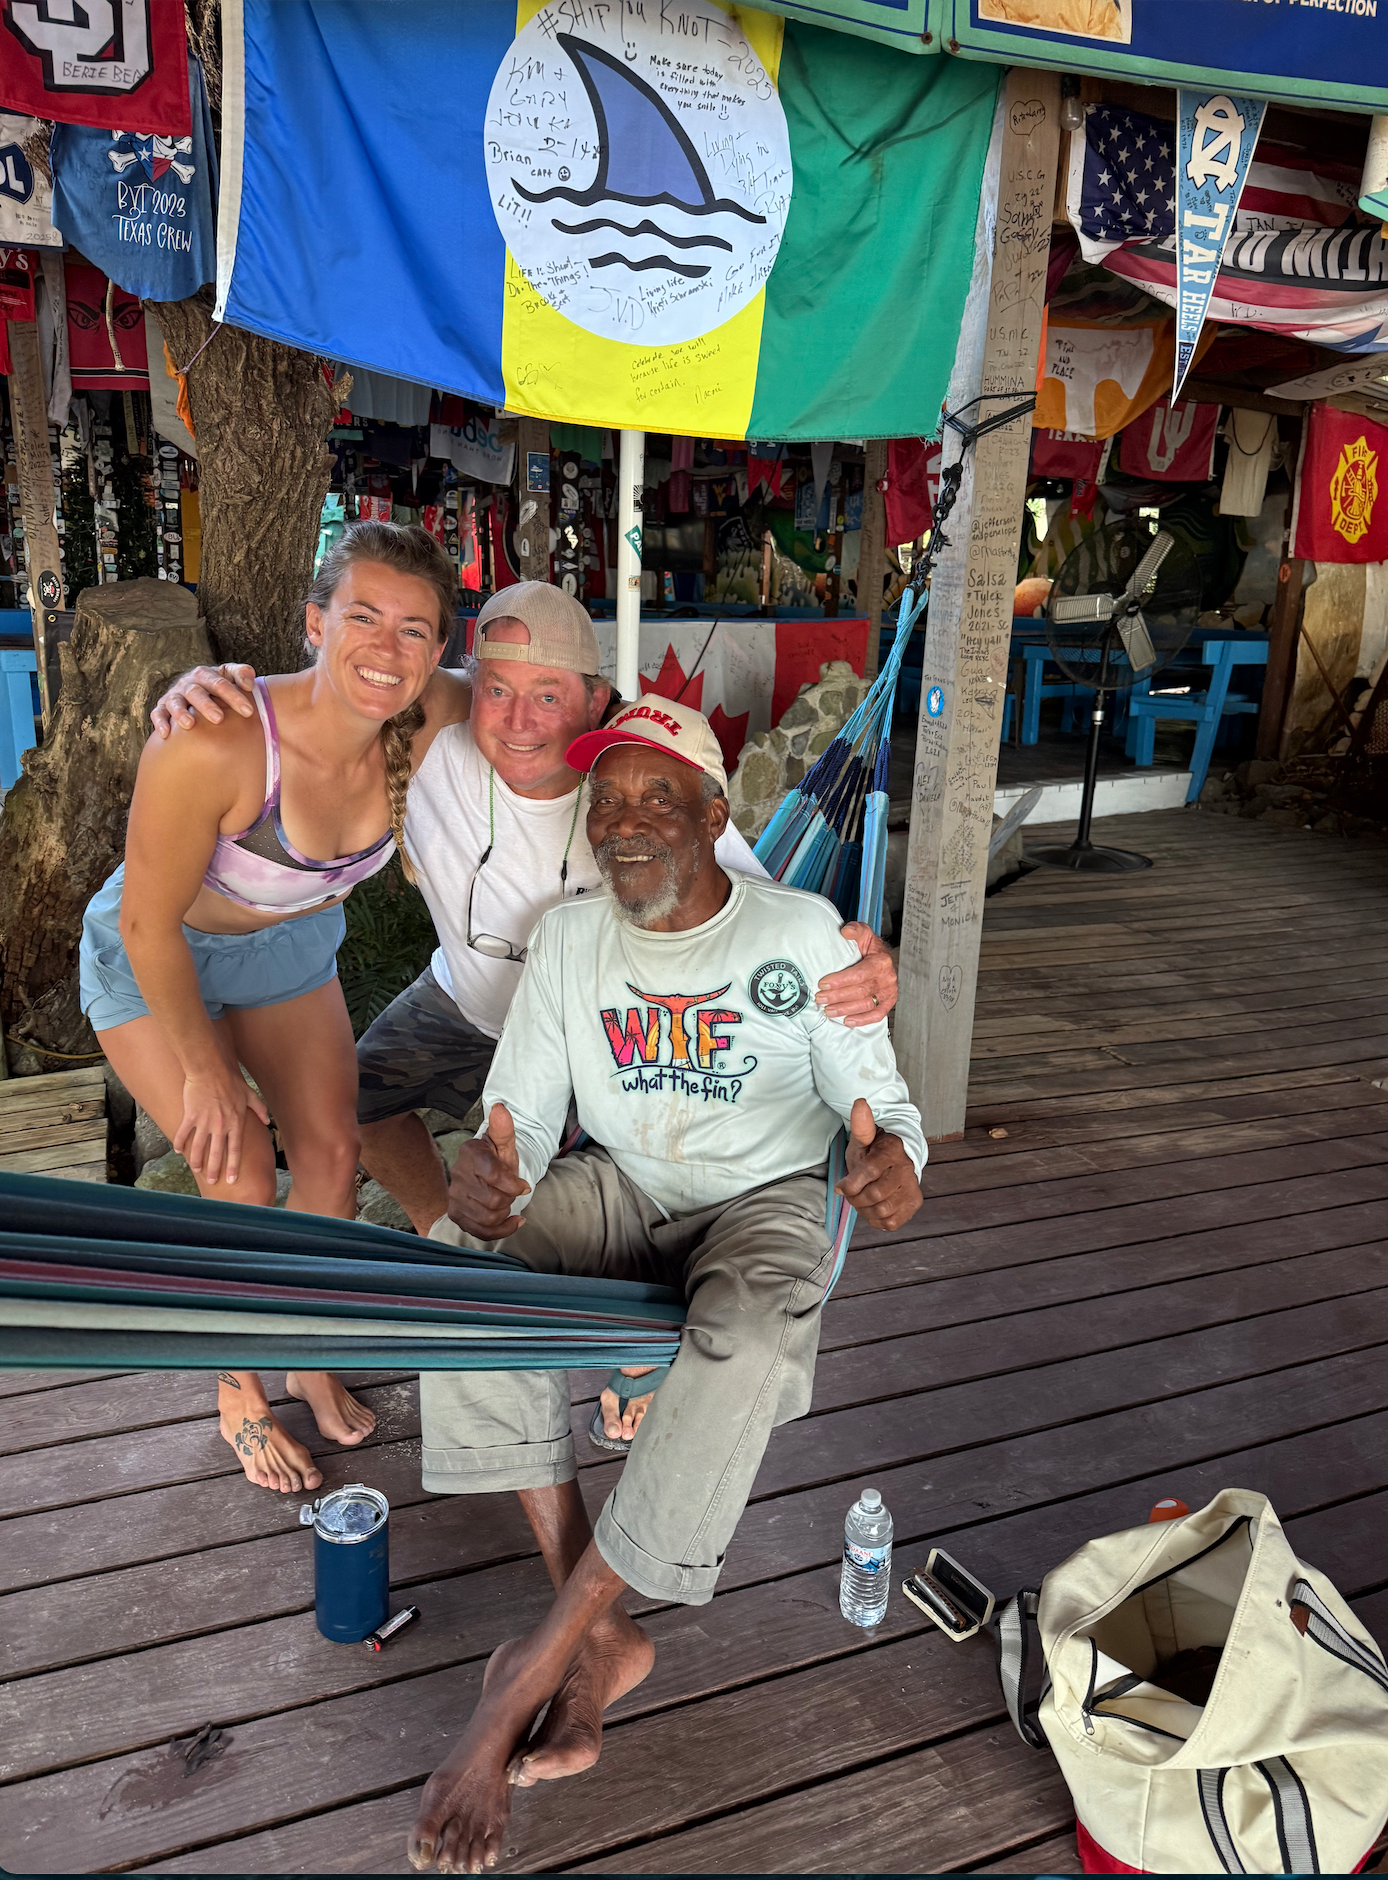
After mooring, we stopped in at Foxy’s for evening drinks and fun. You can’t miss Foxy’s - it’s a blast every night.
We stayed at JVD for 2 nights because White Bay (to the west) is worth a full afternoon. I got dropped off on shore and went on a run / hiking adventure across the whole island. It was 6 miles and 1600ft of elevation gain, and man, the hills were no joke! We spent the late morning and afternoon at the Soggy Dollar, which has great vibes and $12 breakfast burritos. Did you know the painkiller was allegedly created at the Soggy Dollar?

Of course we made an evening stop at Foxy’s for live music. And even another morning stop before leaving to meet the man himself full of stories & fun.
Day 7: Jost Van Dyke to Peter Island
Today we sailed to Soper’s Hole for a lunch and resupply stop. This port is really cute with buildings resembling Dutch vibes. Also, the store here was the best store we encountered on the whole BVIs, both by price and selection. The town has cute shops and restaurants.
Then, we sailed to Peter Island to visit the brand new Peter Island Resort. It costs $120 per boat to stay the night on the dock, and you get access to the resort facilities including: pool, restaurant, hammocks, laundry, among other things (but not the gym or the special restaurant / beach area, which are only for guests). They also have water and trash services here. It was a nice reprieve, especially because it was really windy that night.

Note that you can moor in Deadman’s Bay for $40/night (collected by the resort) but you don’t get access to the resort facilities.
Day 8: Peter Island to Road Town
In the morning, I ran across the whole island out to sunset point (~6 miles and 1000ft elevation gain). It was mainly a road and was much more enjoyable than JVD. The resort does have golf carts to take you across the island if you wish, and water stations on the road.
We spent our day at Peter Island Resort in the pool and clubhouse before heading to Deadman’s Bay for snorkeling. Unfortunately there is not a lot to see at Deadman’s Bay, but this area is apparently where Blackbeard stranded some pirates and Deadman’s Chest was located (think Pirate’s of the Caribbean). So that was fun in itself!

We had to head back to Road Town around 4pm to get into the dock as we had an early departure the next day. Sad to see it all come to a close.
Day 9: Travel home
I had a 1pm flight out of STT, so I hopped on the 7:30am ferry. The ferry took 1 hour and customs took 30 minutes upon arrival. The one-way ferry cost $60, and the representative tried to make me check my backpack for $10 but I refused and ended up just walking on with it. There is also a $20 BVI departure fee, so be ready for that. I spent the rest of my day at Lindbergh beach next to the airport (a 1 hour walk from the ferry, and 10 min walk from the airport).
If you have more time, I highly recommend Brewers Bay Beach just north of the airport. I saw 10 turtles there once before a flight.
Sample 10-day itinerary
A 10-day trip includes Anegada (the true sailor’s paradise). Below is the suggested route from our boat company:
Sail to Marina Cay
Sail to The Dogs for snorkeling. Head up to a point just off Mosquito Rock on the north end of Virgina Gorda; enter Gorda Sound to Moor at the Bitter End or Saba Rock
Open Water Cruise to Anegada (15-mile passage, depart in the morning). Take an eco-tour of the salt ponds to see the flock of pink flamingos or off to the island to see the protected iguana
Anegada Beach Day: explore Cow Sreck Beach
Passage back to Virgin Gorda (morning departure)
The Baths and Peter Island
Norman Island and the Bight
West End and Jost’s Manchioneel Bay
Sandy Cay, Cane Garden Bay with a tour of Callwood Distillery
Monkey Point and Marina Cay
Departure Day
Sample 14-day itinerary
This itinerary includes both Anegada and the US Virgin Islands:
(Days 1-8: same as 10-day itinerary)
9. Cruz Bay: Clear British customs and immigration in Great Barbour on Josh Van Dyke and sail southest to Durloe Channel to Cruz Bay, St John. Anchor and clear US customs & immigration. Option to hike in the National Park or visit Cruz Bay restaurants.
10. St John or Magens Bay, St Thomas
11-12:.Trunk of St Francis and Maho Bays, St John (lots to do here, so 2 days is suggested!)
13. Leinster Bay, St John for excellent snorkeling or Annaberg ruins
14. Sopers Hole or Norman Island: Proceed back to the West End to clear back into BVI customs and immigration.
15. Departure Day